Easy & Viral Strawberry Crunch Banana Pudding Recipe
If banana pudding and strawberry shortcake had a dessert-daydream together, this would be the result. One spoonful of this strawberry crunch banana pudding is packed with creamy pudding, fresh bananas, sweet strawberries, crunchy cookies, and that buttery strawberry crunch topping that steals the spotlight every single time.
Not only does this pudding look amazing, but it tastes great, too. It’s sweet, but not too sweet, and the bananas and strawberries taste incredible together. The layers create a dessert that feels like a cross between banana pudding, strawberry cheesecake, and an old-school ice cream bar.
The best part? It’s actually really easy to make.
Today, I’m going to show you exactly how to make this strawberry crunch banana pudding step by step. So, let’s get started with the recipe.
Why You’ll Love This Strawberry Crunch Banana Pudding
There’s a reason this dessert disappears fast at parties, cookouts, and family gatherings.
Here’s why everyone loves it:
- Ultra creamy and fluffy texture
- Fresh strawberries and bananas in every bite
- Crunchy buttery strawberry topping
- Easy no-bake dessert
- Perfect for holidays and summer parties
- Can be made ahead of time
- Looks bakery-level fancy without the stress
Every layer adds something different. The pudding is smooth and rich, the cookies soften perfectly, and the strawberry crunch adds a crispy pop that makes this dessert unforgettable.
Ingredients You’ll Need
For the Strawberry Crunch
- 24 Golden Oreo cookies
- 3 oz strawberry gelatin powder
- 4 tablespoons unsalted butter, melted
For the Banana Pudding Filling
- 8 oz cream cheese, softened
- 14 oz sweetened condensed milk
- 1 tablespoon vanilla extract
- 1 package instant vanilla pudding mix
- 1 package instant banana cream pudding mix
- 4 cups cold milk
For the Whipped Cream
- 2 ½ cups heavy cream
- ⅓ cup powdered sugar
- Dash of cinnamon
For the Layers
- Chess cookies
- Crushed vanilla wafers
- 2 to 3 bananas, sliced
- 10 strawberries, sliced
- Strawberry glaze or strawberry syrup
Kitchen Tools You’ll Need
Before you start, make sure you have:
- Food processor
- Mixing bowls
- Electric mixer
- Spatula
- 9×13 baking dish
- Ziploc bag
- Knife and cutting board
How to Make Strawberry Crunch Banana Pudding
Step 1: Make the Strawberry Crunch

First, we’re going to make the strawberry crunch.
Start by placing the Golden Oreos into a food processor. Blend the cookies until they become fine crumbs.
Next, pour the Oreo crumbs into a bowl. Add the strawberry gelatin powder and melted butter.
Mix everything together until the crumbs are fully coated and the mixture becomes nice and crumbly.
The color will turn into a beautiful pink strawberry-cookie mixture that smells amazing already.
When you’re finished, set the strawberry crunch to the side.
Step 2: Make the Pudding Mixture
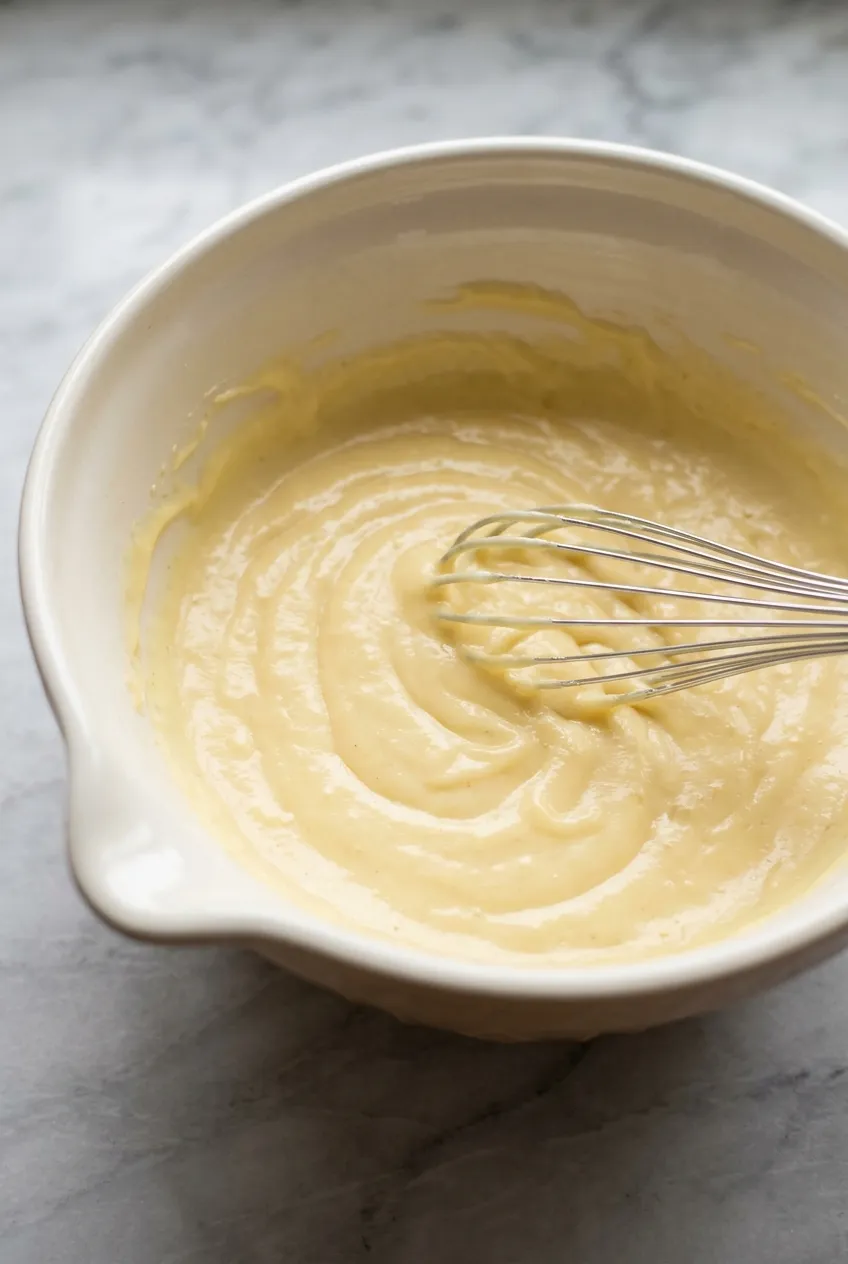
Now we’re going to make the pudding.
In a large bowl, add the softened cream cheese, sweetened condensed milk, and vanilla extract.
Using an electric mixer, beat everything together until smooth and creamy. Make sure there are no cream cheese lumps left behind. You want the mixture silky smooth.
Next, add the instant vanilla pudding mix and banana cream pudding mix.
Gradually pour in the cold milk while mixing.
Keep mixing until everything is fully combined and thickened. Don’t forget to scrape the sides of the bowl so everything mixes evenly.
Once the pudding mixture is smooth, cover the bowl and place it in the fridge for about 30 minutes.
This chilling time helps the pudding thicken properly and gives the flavors time to come together.
Step 3: Make the Homemade Whipped Cream
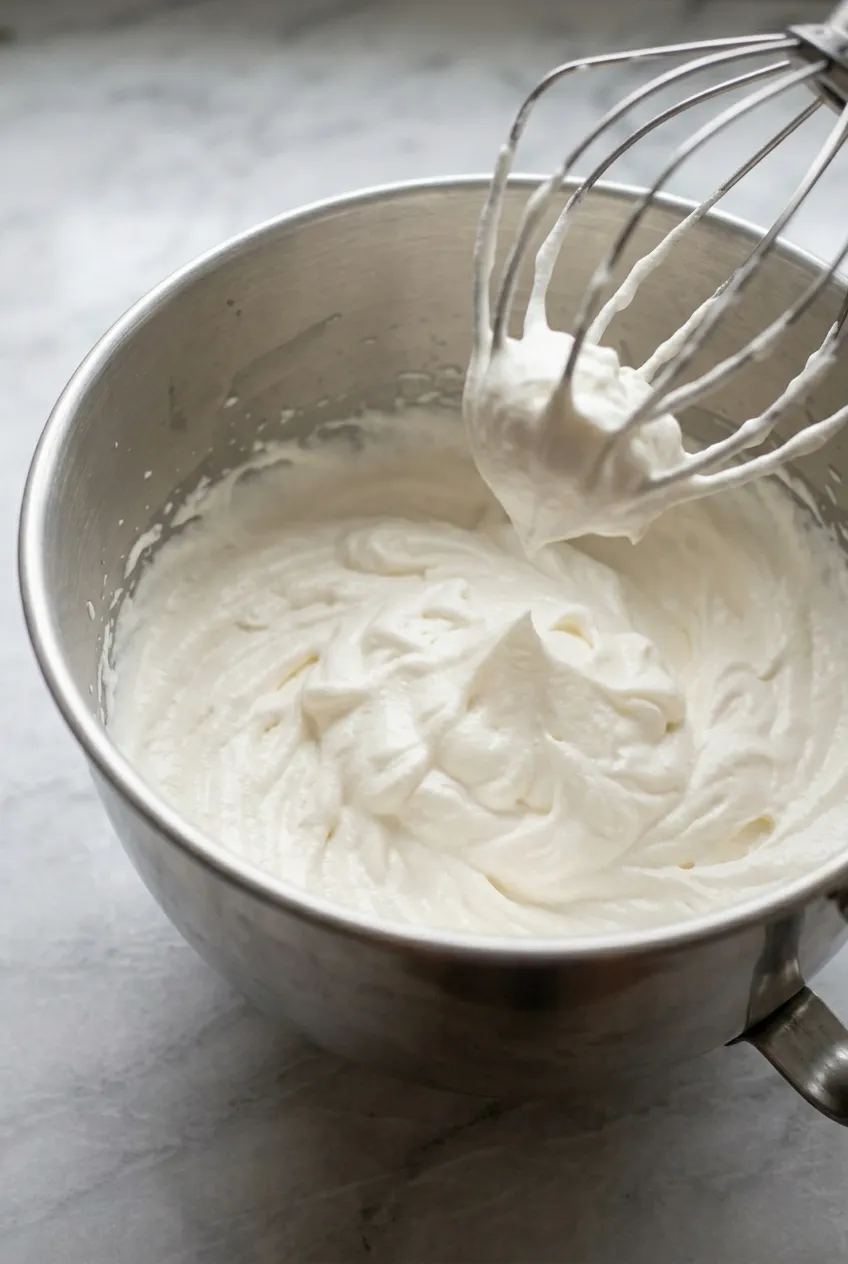
While the pudding is chilling, we’re going to make the whipped cream.
For this part, you want your bowl to be really cold. A cold bowl helps whipped cream form faster, thicker, and more stable. A glass or metal bowl works best.
Place the bowl in the freezer for about 10 to 15 minutes.
Once the bowl is cold, add the heavy cream, powdered sugar, and a dash of cinnamon.
Beat everything together until the cream becomes fluffy and stiff peaks form.
Be careful not to overmix, or the whipped cream can become grainy.
The cinnamon adds a tiny warm flavor in the background that works perfectly with the bananas and strawberries.
Step 4: Fold the Whipped Cream Into the Pudding
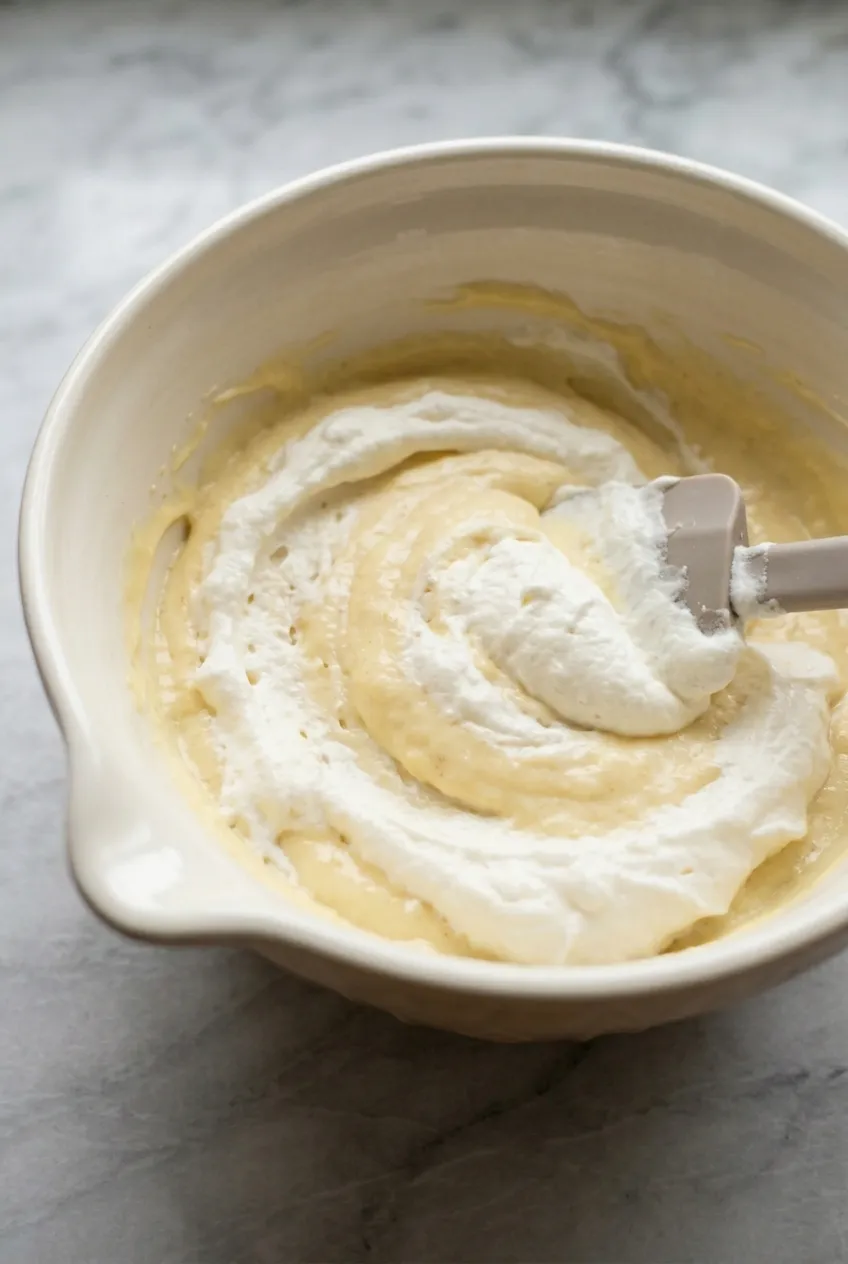
Once the whipped cream is finished, remove the pudding from the fridge.
Gradually fold the whipped cream into the pudding mixture using a spatula.
Take your time with this step. Folding gently keeps the mixture light and fluffy.
When everything is fully combined, the pudding should look thick, creamy, and cloud-like. At this point, it already tastes incredible.
Place the pudding back into the fridge until you’re ready to assemble the dessert.
Step 5: Prepare the Fruit
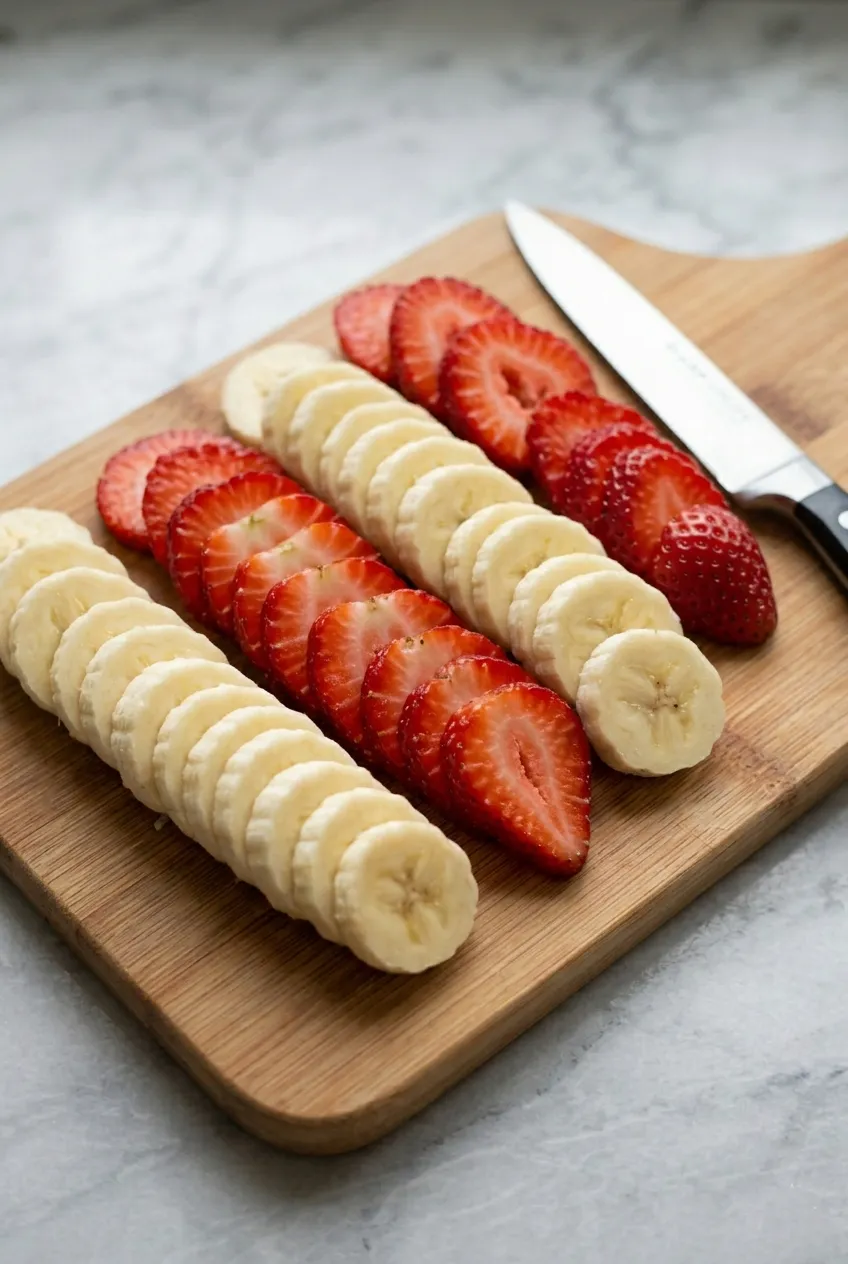
Next, slice the bananas and strawberries.
Try to cut the fruit evenly so the layers look nice and balanced throughout the dish.
Fresh strawberries add brightness and sweetness, while bananas bring that classic banana pudding flavor everyone loves.
Set the fruit to the side.
Step 6: Prepare the Strawberry Glaze
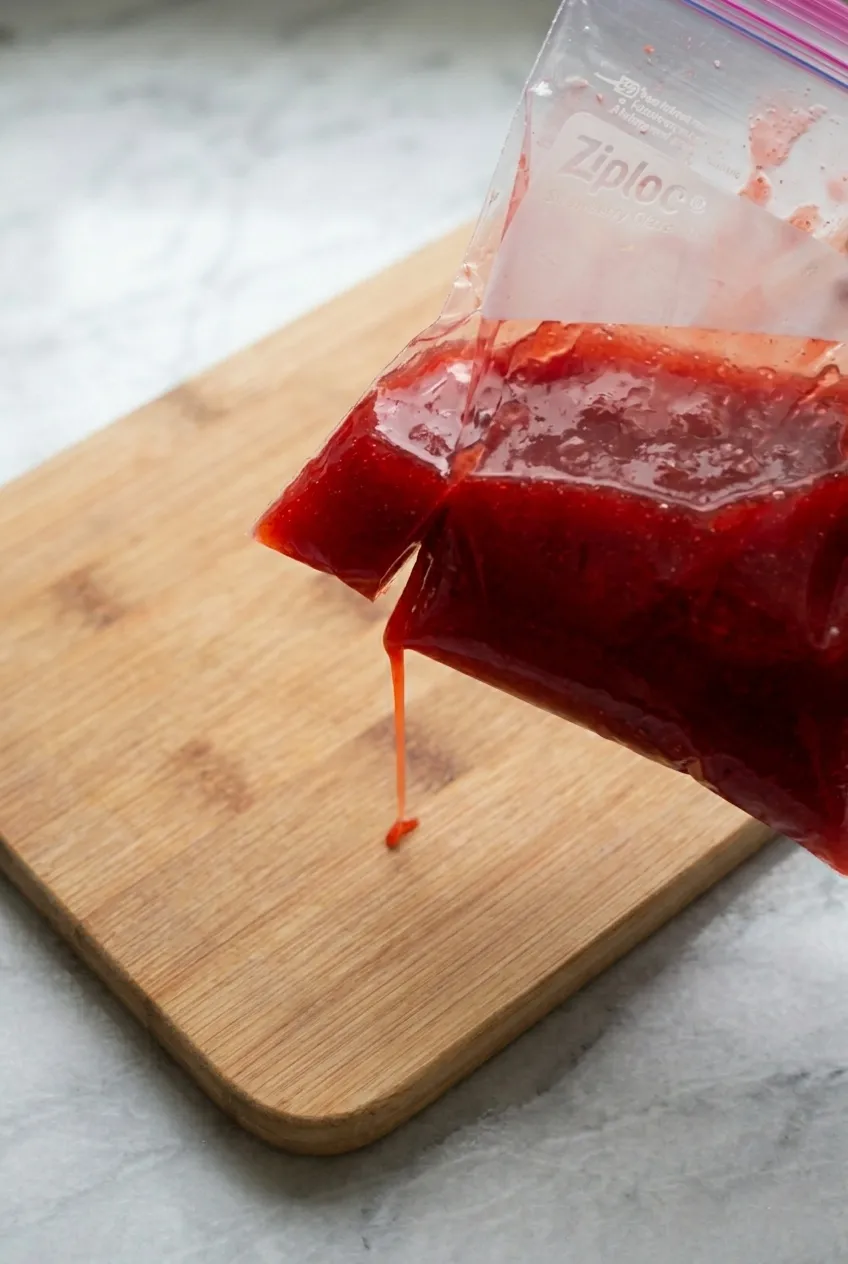
Add the strawberry glaze or strawberry syrup into a Ziploc bag.
Close the bag and cut a tiny tip off one corner so you can pipe the glaze easily over the pudding layers.
If you don’t have strawberry glaze, strawberry syrup works just fine.
This little drizzle adds extra strawberry flavor and gives the dessert that glossy bakery-style finish.
Step 7: Assemble the Strawberry Crunch Banana Pudding
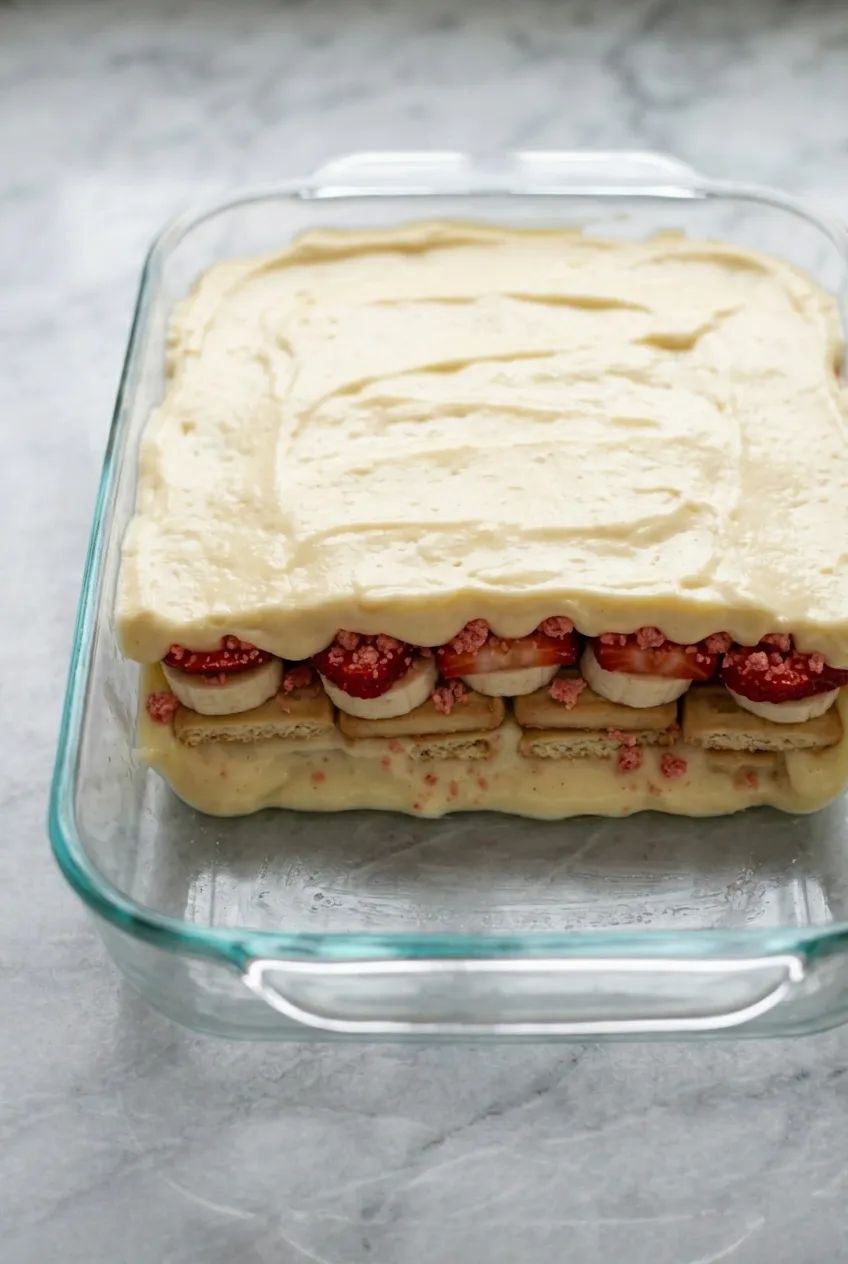
Now comes the fun part. We finally get to assemble the pudding.
In a 9×13 baking dish, spread a layer of pudding across the bottom.
Next, add a layer of chess cookies.
Then sprinkle crushed vanilla wafers over the top.
Add sliced bananas and strawberries evenly across the layer.
Drizzle some strawberry glaze over everything.
Then sprinkle a generous amount of strawberry crunch on top.
Now add another layer of pudding.
Repeat the same layers again:
- Cookies
- Vanilla wafers
- Bananas
- Strawberries
- Strawberry glaze
- Strawberry crunch
Finish everything with a final layer of pudding on top.
Smooth the top evenly using a spatula.
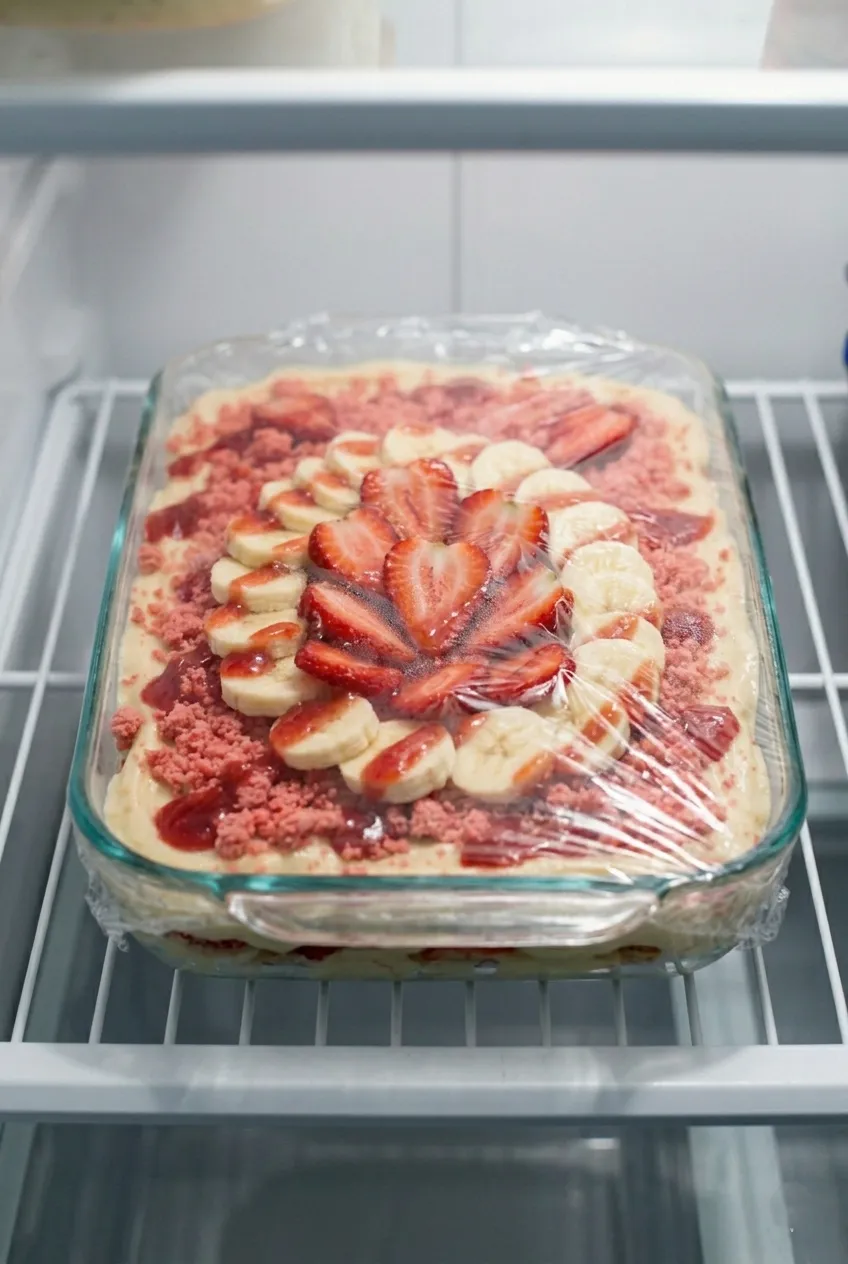
Step 8: Chill the Pudding
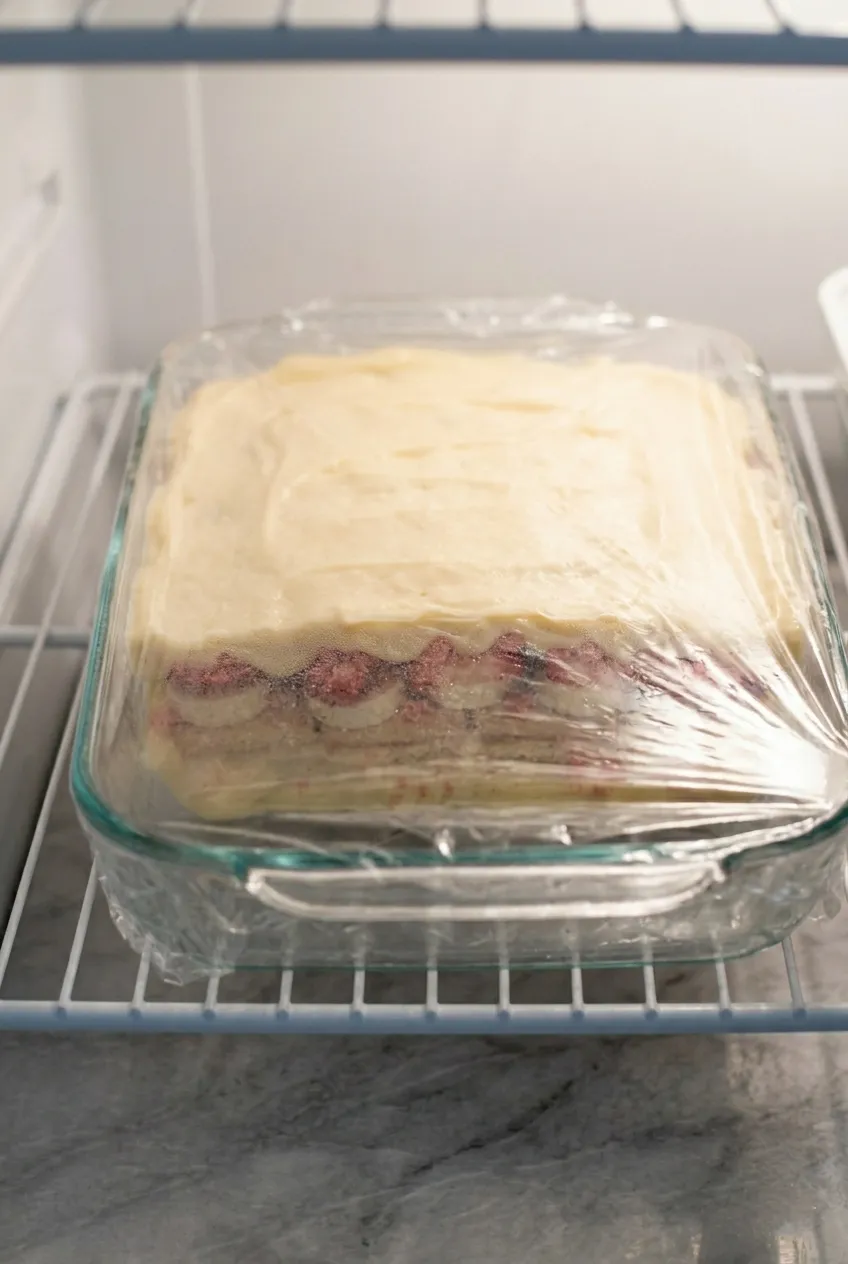
Place the dish in the refrigerator for at least 1 hour.
If possible, let it chill overnight.
Overnight chilling gives the cookies time to soften slightly and allows all the flavors to blend together beautifully.
It transforms from a layered dessert into a creamy spoonful of strawberry-banana heaven.
Step 9: Decorate and Serve
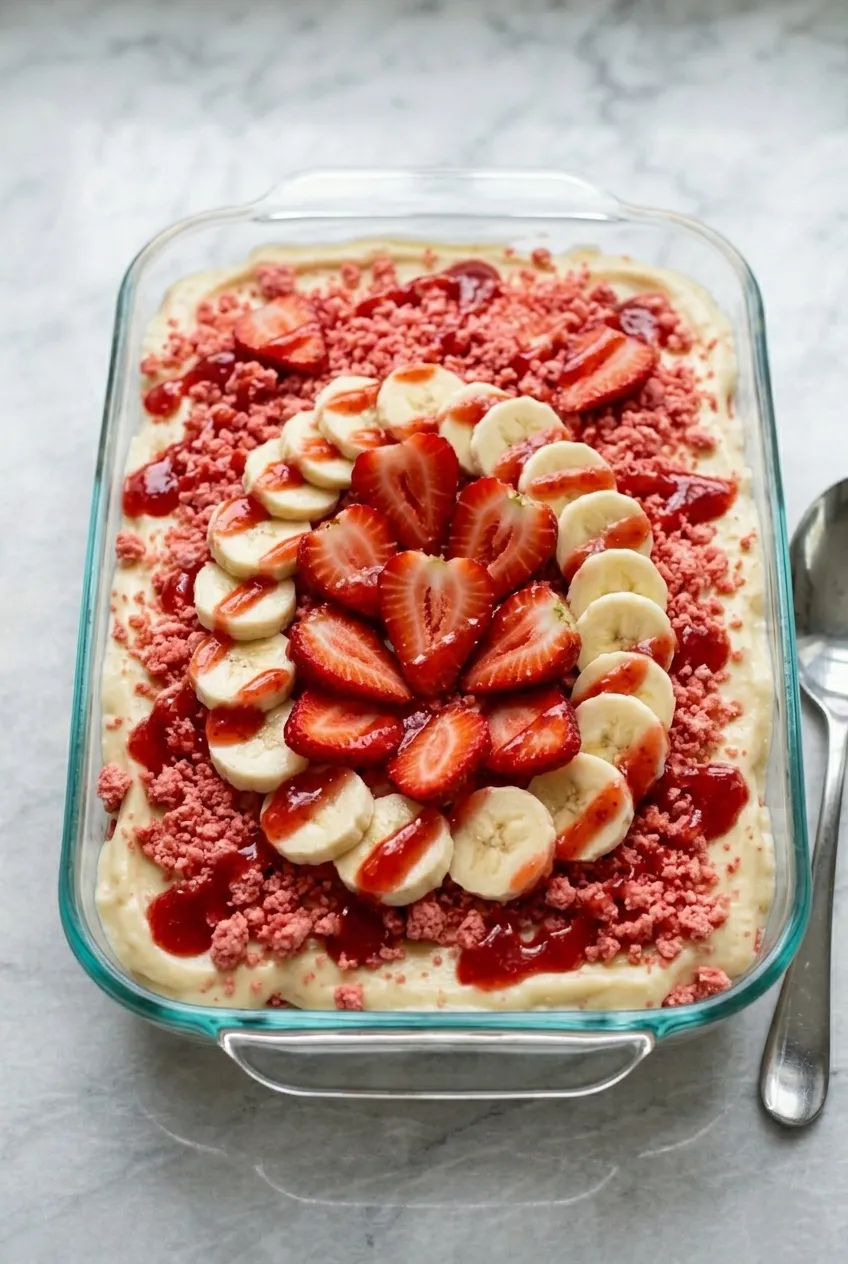
Once the pudding has finished chilling, remove it from the fridge.
Decorate the top with:
- Strawberry crunch
- Whole cookies
- Sliced bananas
- Sliced strawberries
Finish it off with a drizzle of strawberry glaze and one final sprinkle of strawberry crunch on top.
And that’s it.
You’re all done.
Tips for the Best Strawberry Crunch Banana Pudding
Use ripe bananas
Ripe bananas give the pudding the best flavor and sweetness. Avoid green bananas because they can taste starchy.
Chill Everything
Cold ingredients help the pudding set better and keep the whipped cream stable.
Don’t Skip the Whipped Cream
Homemade whipped cream makes a huge difference in texture compared to store-bought whipped topping.
Let It Chill Overnight
The flavor gets even better after several hours in the fridge.
Add Extra Crunch Before Serving
If you want maximum crunch, save some topping to sprinkle on right before serving.
Easy Variations
Strawberry Cheesecake Version
Add extra cream cheese for a richer cheesecake-style pudding.
Chocolate Strawberry Banana Pudding
Layer in chocolate cookies or chocolate chips for a chocolate-covered strawberry twist.
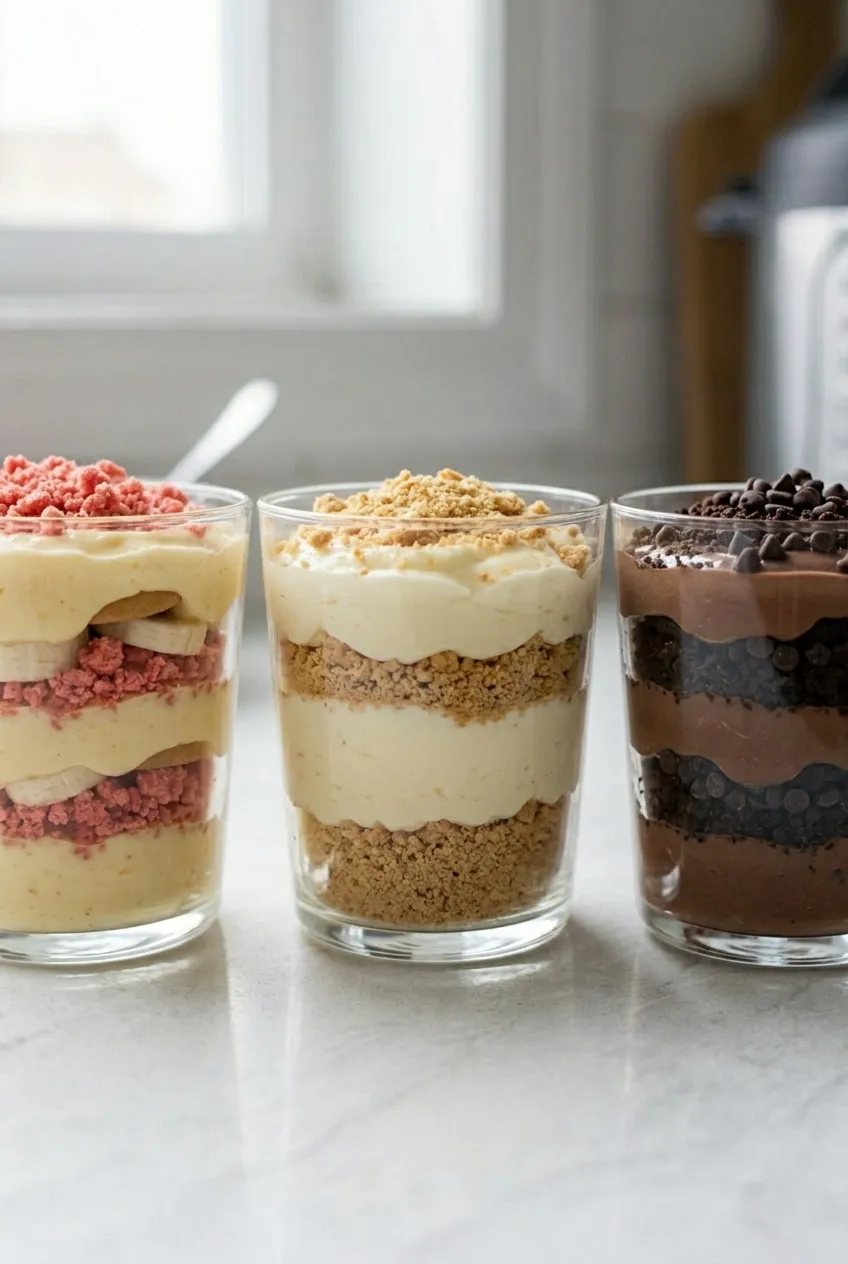
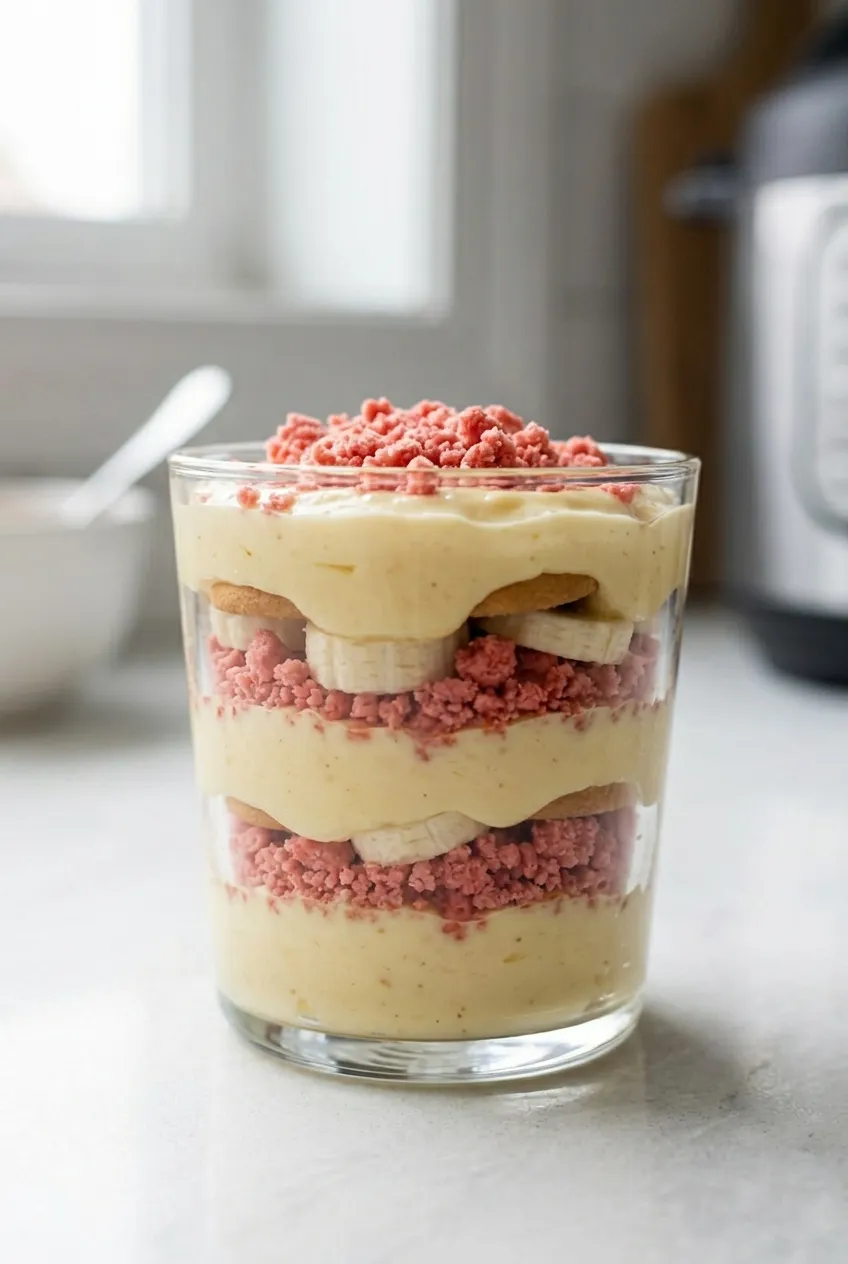
Mini Pudding Cups
Instead of one large dish, assemble the pudding into small cups or jars for parties.
Extra Fruity Version
Add raspberries or blueberries for even more berry flavor.
How to Store Strawberry Crunch Banana Pudding
Store the pudding covered in the refrigerator for up to 3 days.
Keep in mind that bananas naturally soften and brown over time, so this dessert is best enjoyed within the first couple of days.
If making ahead, wait until serving time to add the final fresh fruit garnish on top.
What to Serve With Strawberry Crunch Banana Pudding
This dessert pairs perfectly with:
- Barbecue meals
- Holiday dinners
- Summer cookouts
- Birthday parties
- Potlucks
- Family gatherings
It’s one of those desserts that instantly becomes the center of attention once it hits the table.
FAQs
Conclusion
This strawberry crunch banana pudding is creamy, fruity, crunchy, and packed with flavor in every layer. Between the fluffy pudding, fresh bananas, sweet strawberries, soft cookies, and buttery strawberry crunch topping, every bite tastes like pure dessert comfort.
Not only does the pudding look amazing, but it tastes incredible too. It’s the kind of dessert people go back for seconds and thirds of without hesitation.
Whether you’re making it for a birthday party, holiday table, summer cookout, or just because your sweet tooth started making dramatic speeches in the kitchen, this recipe is guaranteed to be a hit.
Once you make it, don’t be surprised if friends and family start requesting it every single time.