How to Make a Sourdough Starter recipe from Scratch (Step-by-Step Beginner’s Guide)
Welcome to your very own cooking blog site, where flour and water quietly team up to create something alive, bubbly, and borderline magical. Yes, we’re making a sourdough starter. And despite its mysterious reputation, it’s surprisingly simple. No wizard hat required.
What Is a Sourdough Starter?
A sourdough starter is a living culture made from just flour and water. Over time, it captures wild yeast and beneficial bacteria from the environment. These tiny organisms feast on the flour, ferment the mixture, and create the bubbles that make sourdough bread rise.
Think of it as a pet… but one that feeds on carbs and rewards you with bakery-level bread.
Ingredients You’ll Need
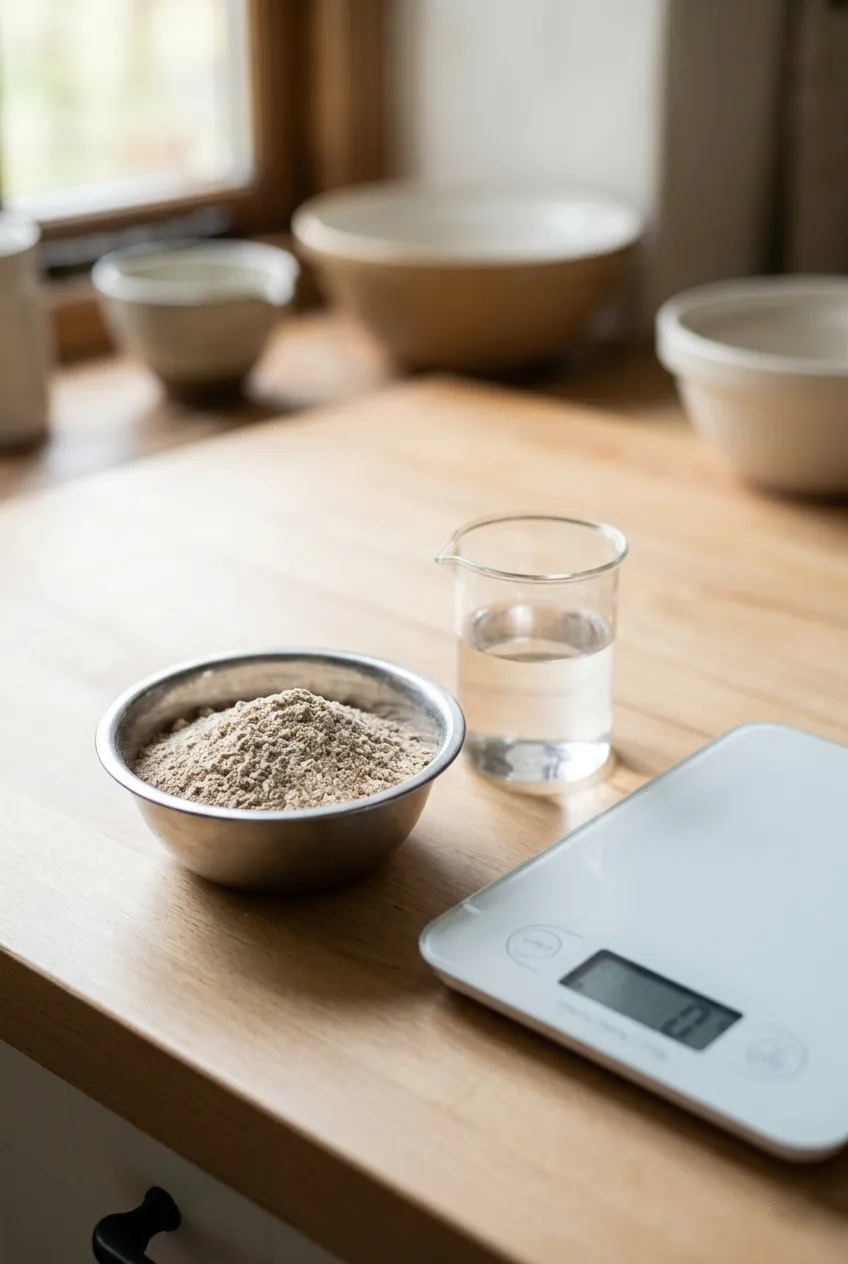
Let’s keep it beautifully simple:
- 100 grams of flour (whole wheat or rye to start)
- 100 grams water (filtered, room temperature)
That’s it. No shortcuts, no additives, just nature doing its thing.
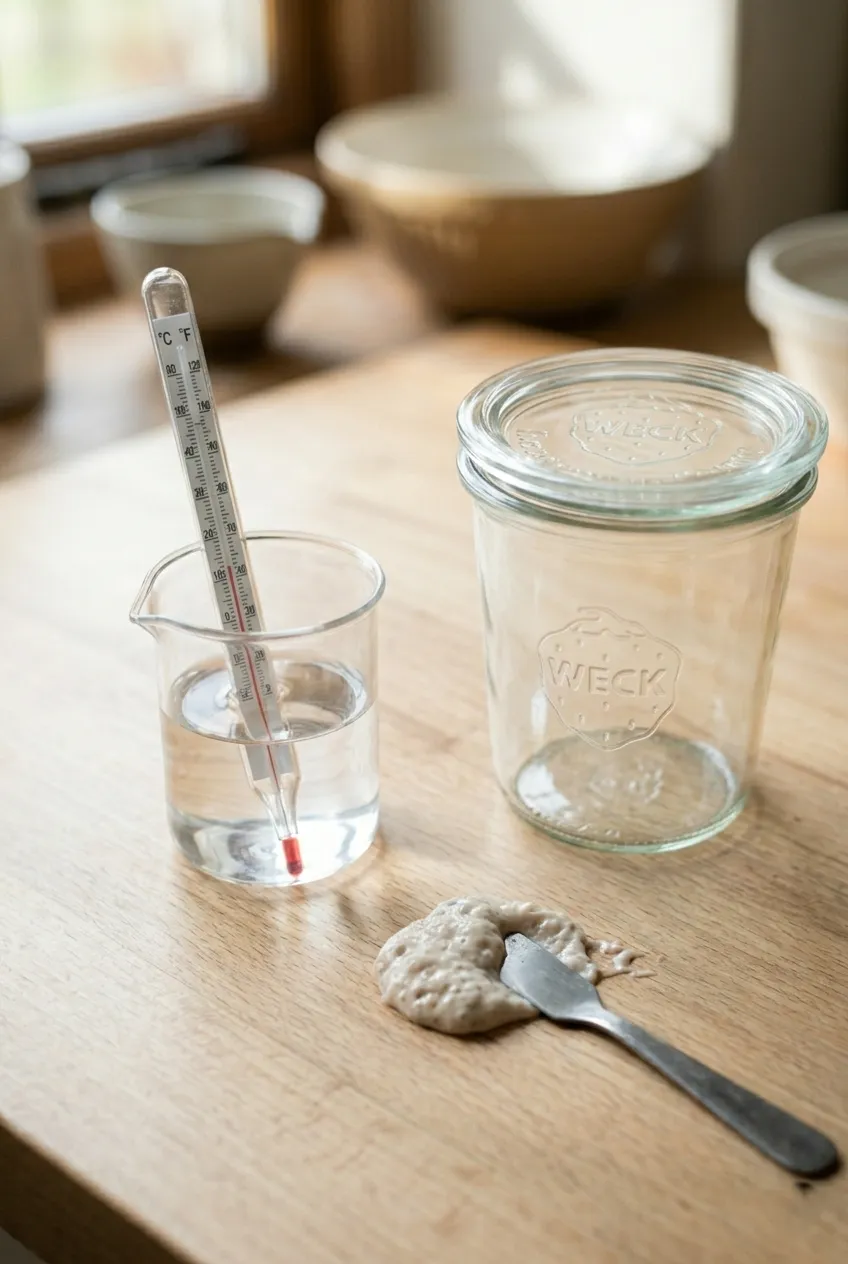
Equipment for Best Results
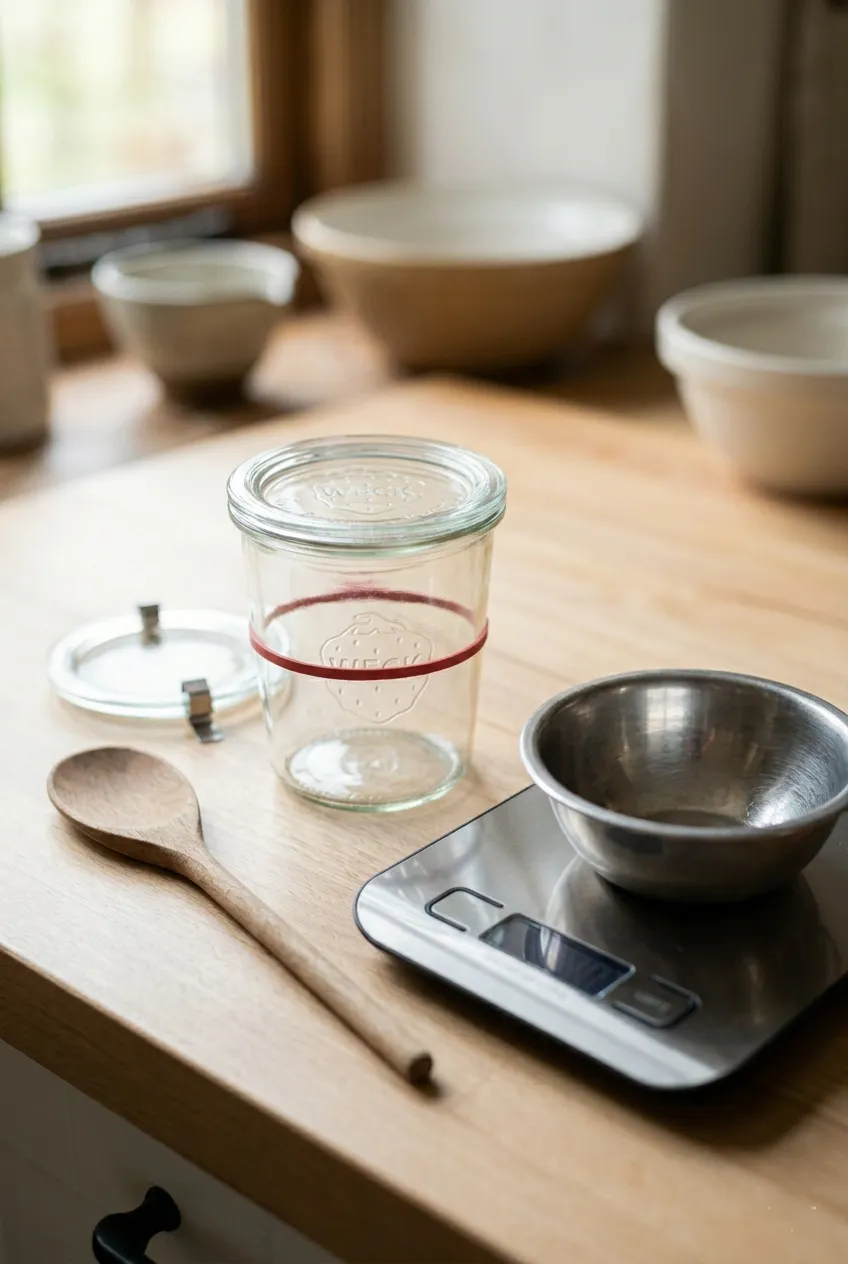
While you can eyeball things, precision makes this process smoother than butter on warm toast.
- Digital kitchen scale (highly recommended)
- Glass jar (a mason jar or Weck jar works great)
- Fork or spoon for mixing
- Rubber band (for tracking growth)
- Loose-fitting lid
A Weck jar is especially handy since it often weighs around 400 grams, making measurements easier. But any jar will do the job.
If you’re planning ahead for breakfast, this overnight oats recipe is another great make-ahead option to try.
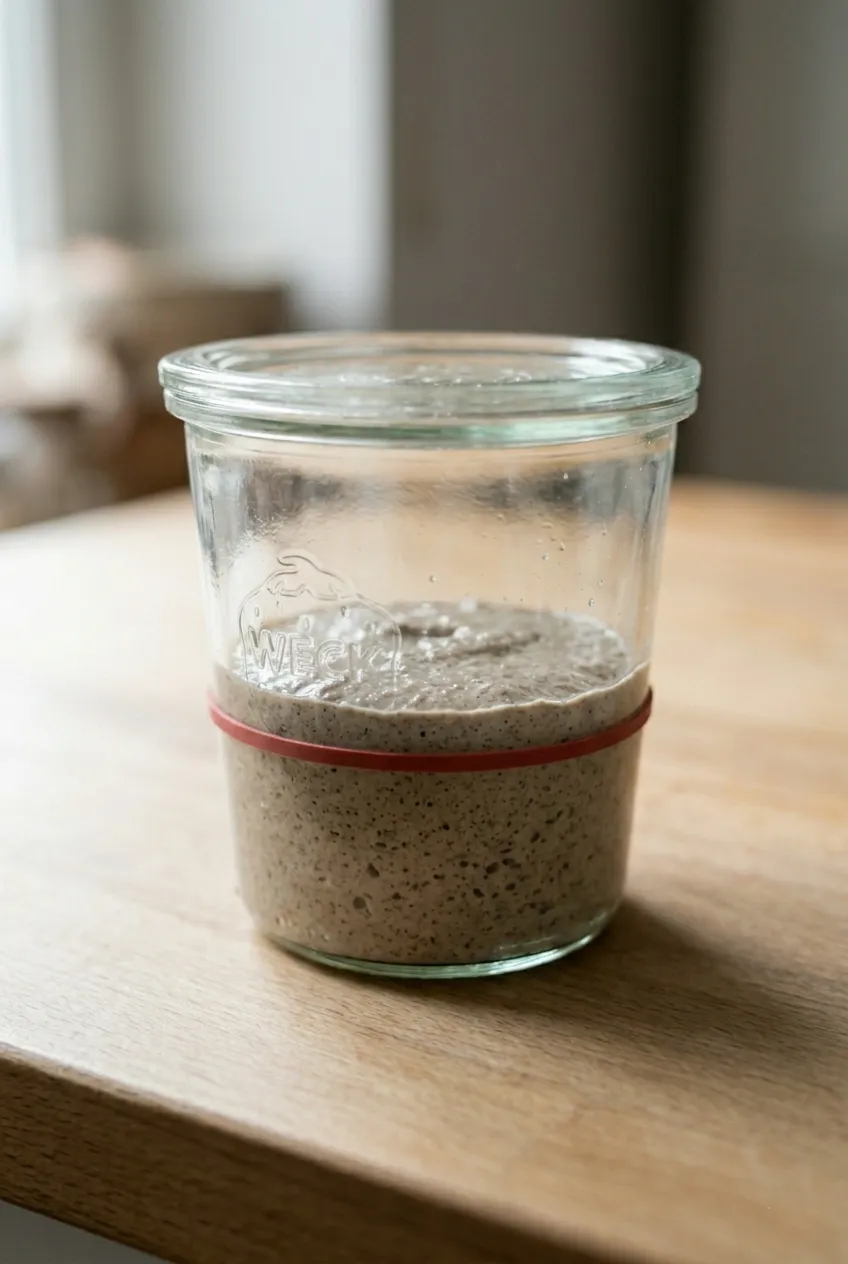
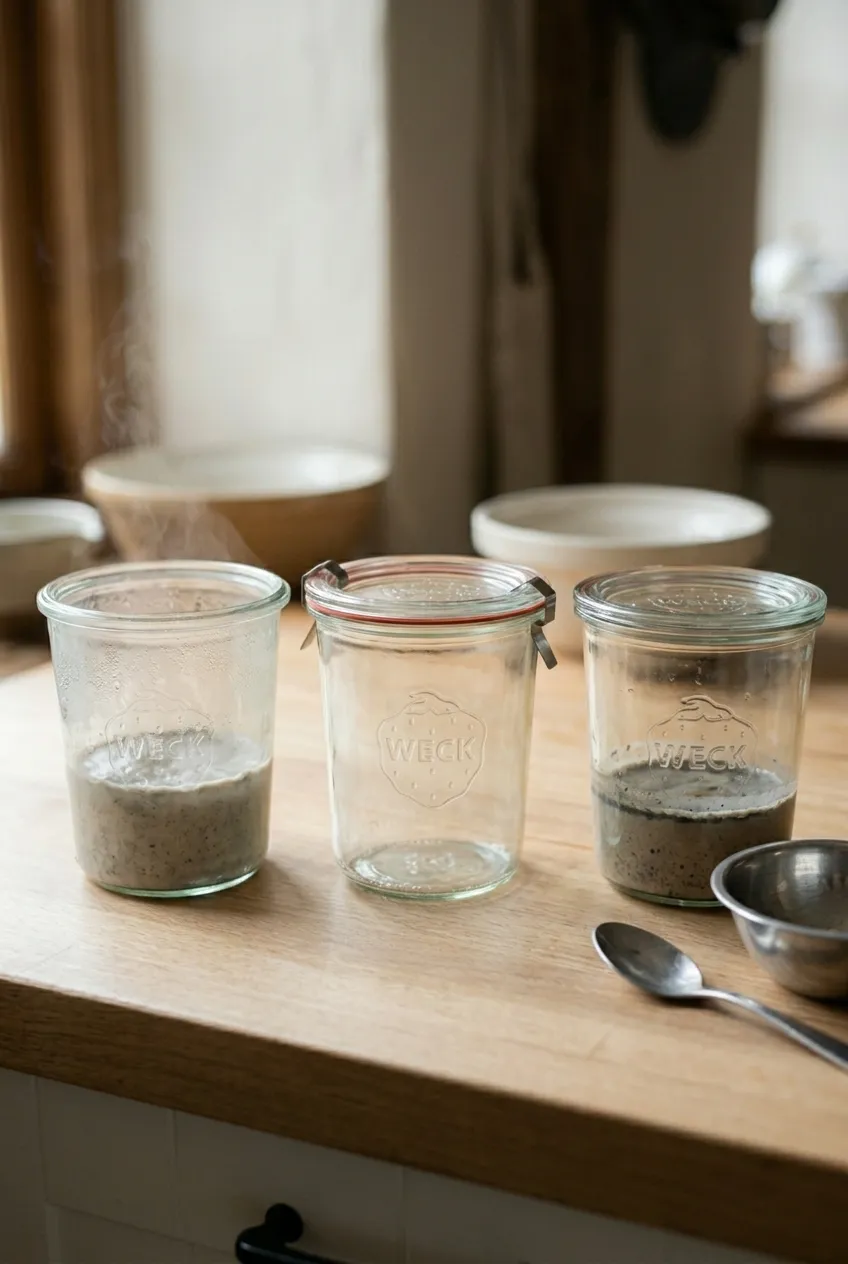
Day 1: Mixing Your Starter
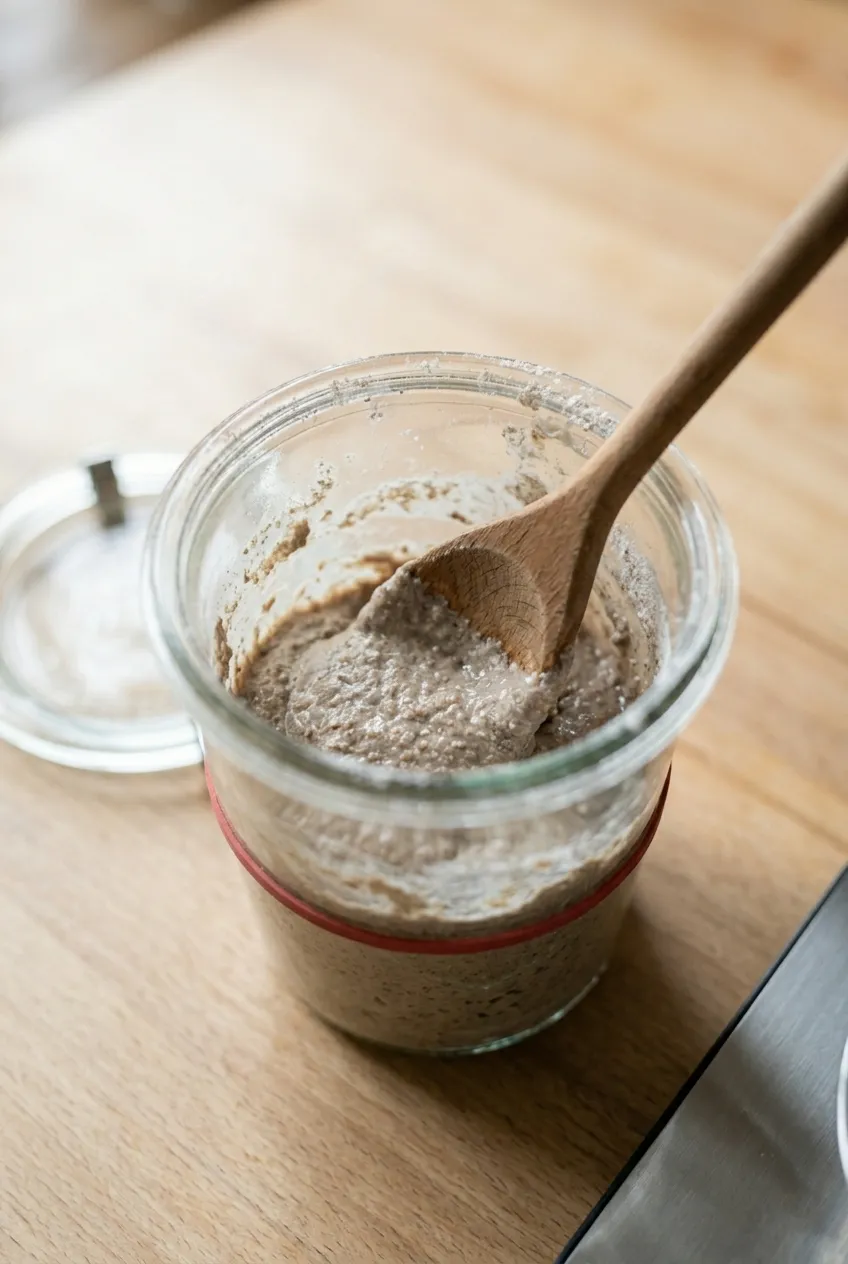
Start by placing your jar on the scale and zeroing it out.
- Add 100 grams of flour
- Add 100 grams of room temperature water
Mix it together thoroughly. At first, the texture will be thick, almost like a stubborn paste that doesn’t want to cooperate. That’s completely normal, especially if you’re using rye flour.
Scrape down the sides, then place a rubber band at the level of the mixture. This becomes your “growth tracker.”
Cover the jar loosely. Important note: Do not tighten the lid. Your starter needs to breathe.
Now let it sit at room temperature.
Once your bread is ready, pair it with a hearty dish like this slow cooker beef stew for a comforting meal.
Days 2–3: The Waiting Game
Day 2 might feel anticlimactic. You’ll check your jar and… nothing. No bubbles. No drama. Just a quiet blob.
Resist the urge to interfere.
By day 3, things get interesting. You’ll start to notice bubbles forming — tiny pockets of life signaling that fermentation has begun.
A quick tip: don’t rush things by placing them in a warm spot. Too much heat can cause rapid growth followed by a yeast burnout. Let it develop naturally at room temperature.
Day 3: First Feeding
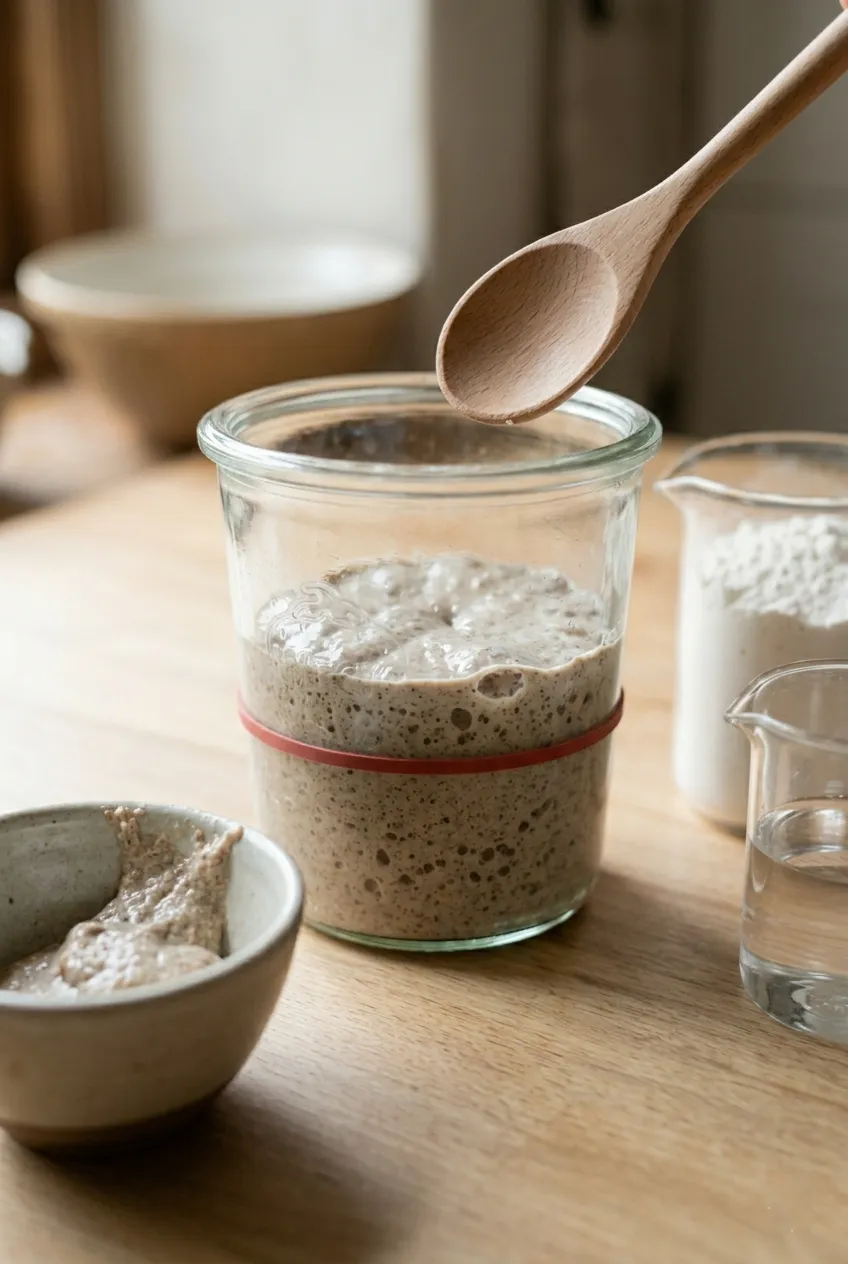
Once you see bubbling, it’s feeding time.
- Discard half of the starter (you should have about 100 grams left)
- Add:
- 100 grams all-purpose flour
- 100 grams of water
Mix thoroughly until smooth. No dry flour hiding in corners.
Clean the jar sides, reset your rubber band, and cover loosely again.
Let it rest for another 24 hours.
Days 4–6: Building Strength
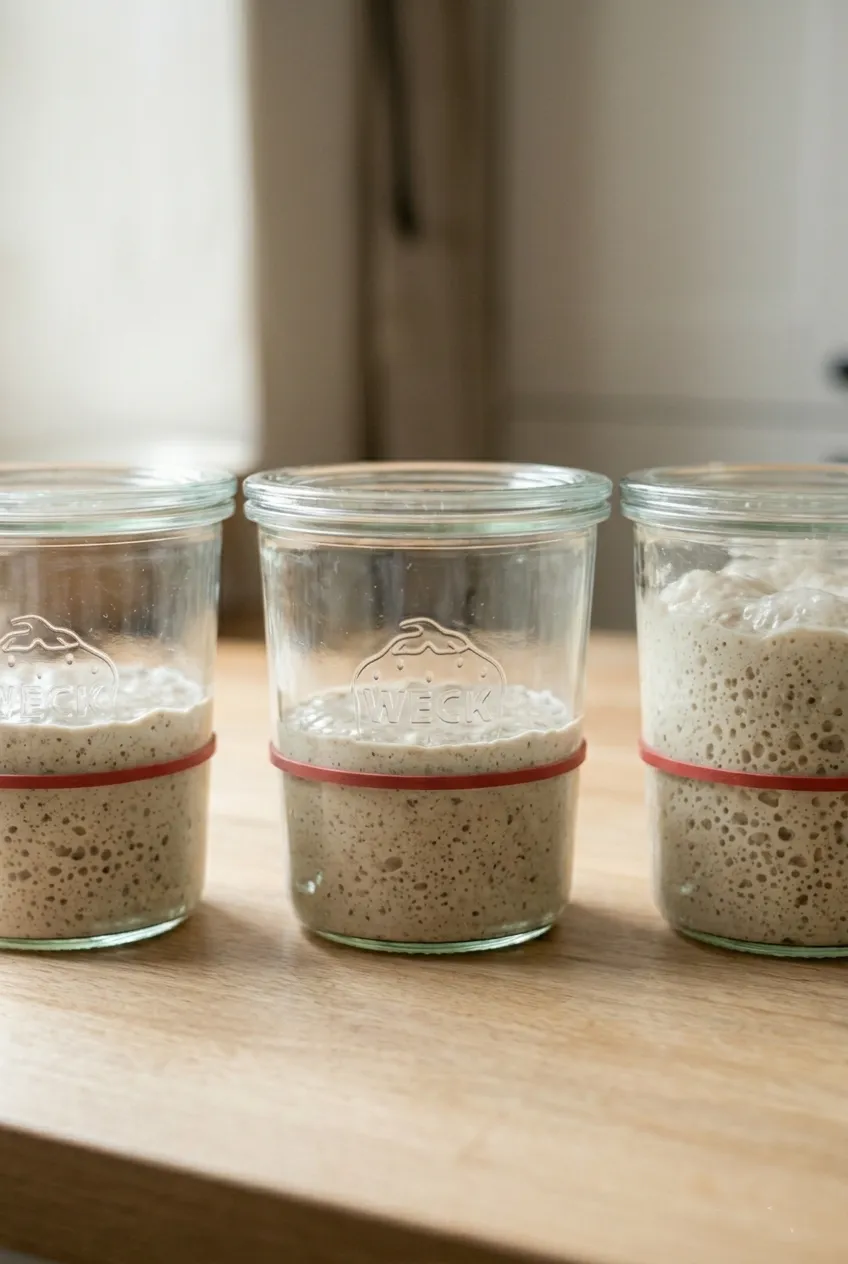
Now your starter begins to flex its muscles.
Day 4
You’ll see a noticeable rise and more bubbles. The mixture is becoming lighter, airier, and easier to stir.
- Keep 100 grams of starter
- Discard the rest
- Feed with 100g flour + 100g water
Consistency is key here. Try to feed at the same time each day.
Day 5
Growth continues, though sometimes it may slow down. Don’t panic.
Starters occasionally hit a “pause button” around day 4 or 5. It’s normal. Just keep feeding and trust the process.
Day 6
Now we’re talking. The starter becomes bubbly throughout, with a lively texture and visible rise.
At this point, it’s starting to resemble what you’d expect from a mature starter.
Continue the same feeding routine.
For a creamy side idea, this potato salad recipe adds a rich and satisfying touch to any spread.
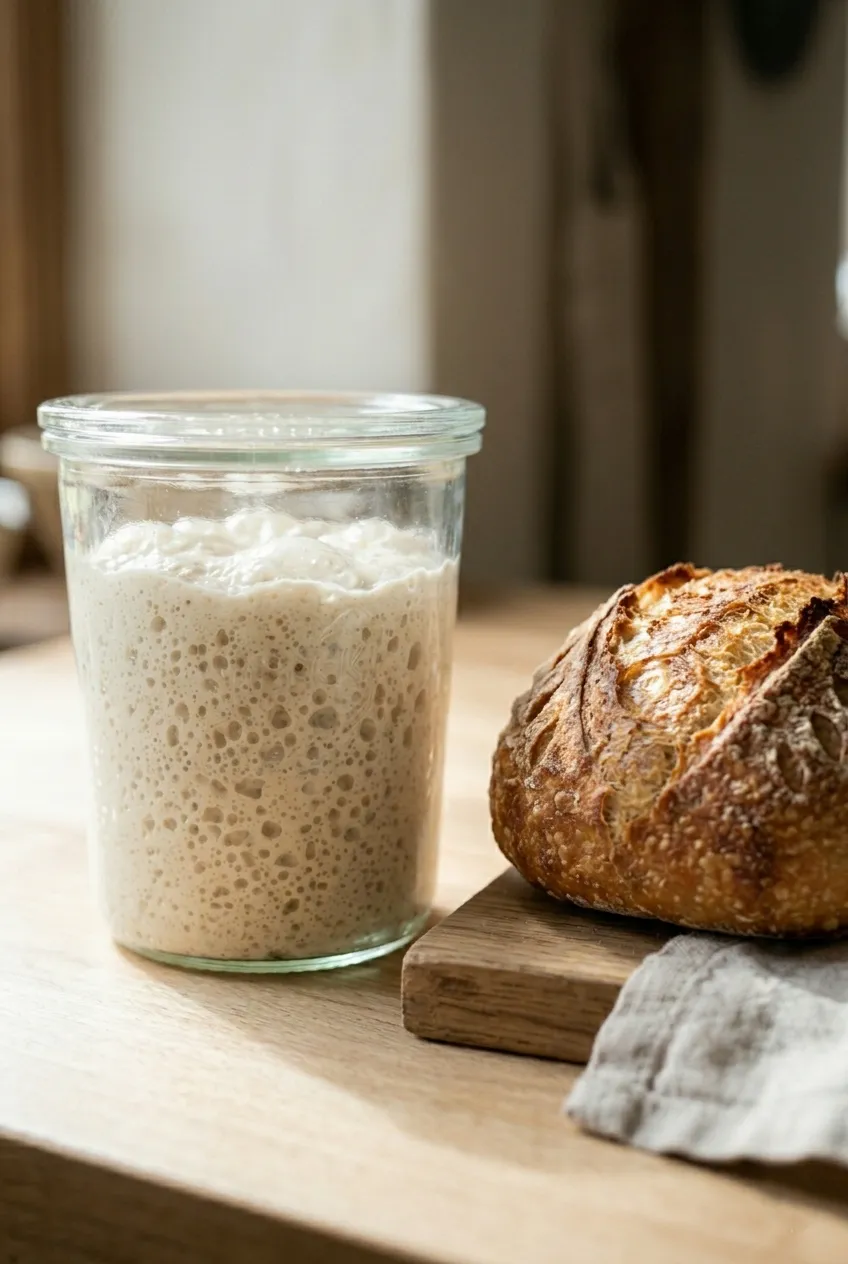
Day 7: Your Starter Is Ready
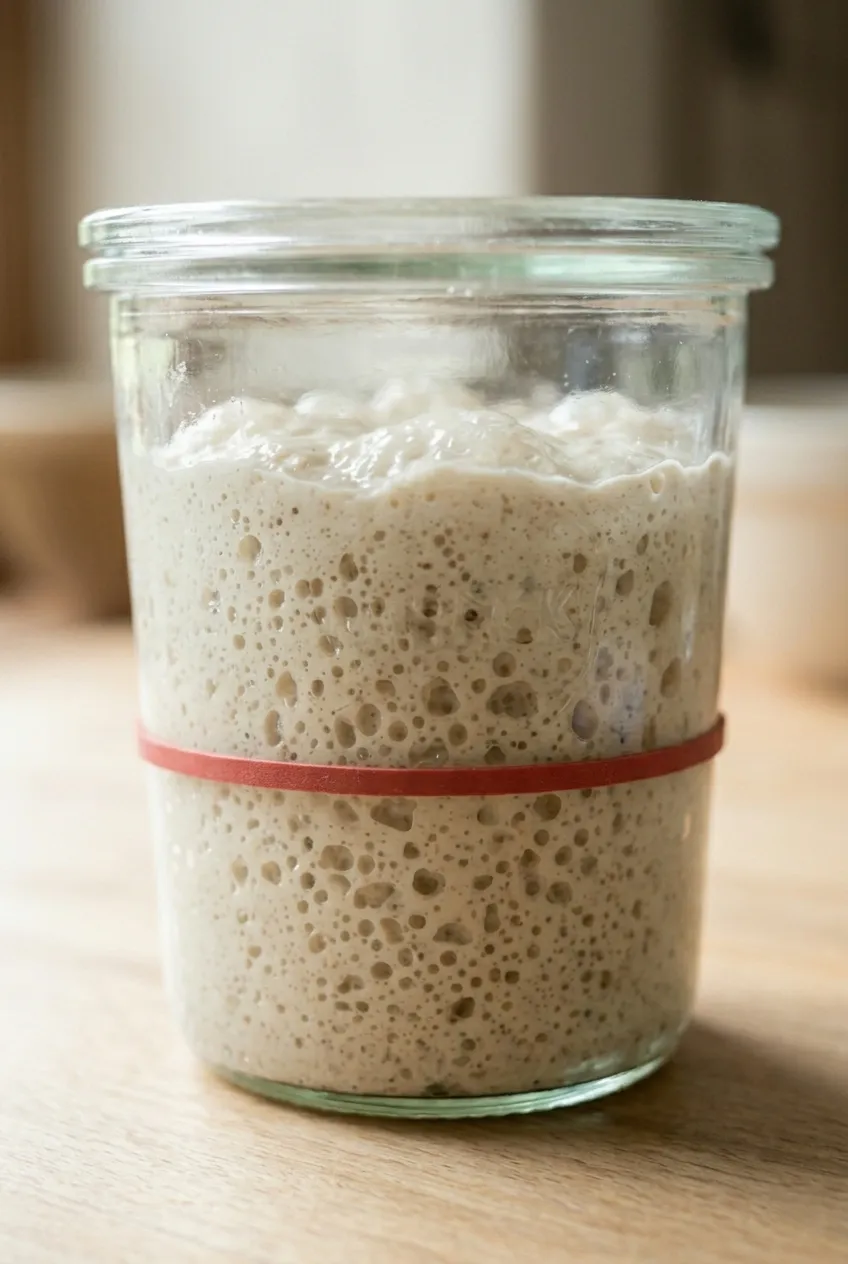
This is the grand reveal.
Your starter should:
- More than double in volume within 4–6 hours after feeding
- Look airy and bubbly
- Smell pleasantly sour (not foul)
The texture? Light, fluffy, and full of bubbles that look like they’re ready to throw a party.
This is peak performance, the moment you’ve been waiting for.
How to Test If Your Starter Is Ready
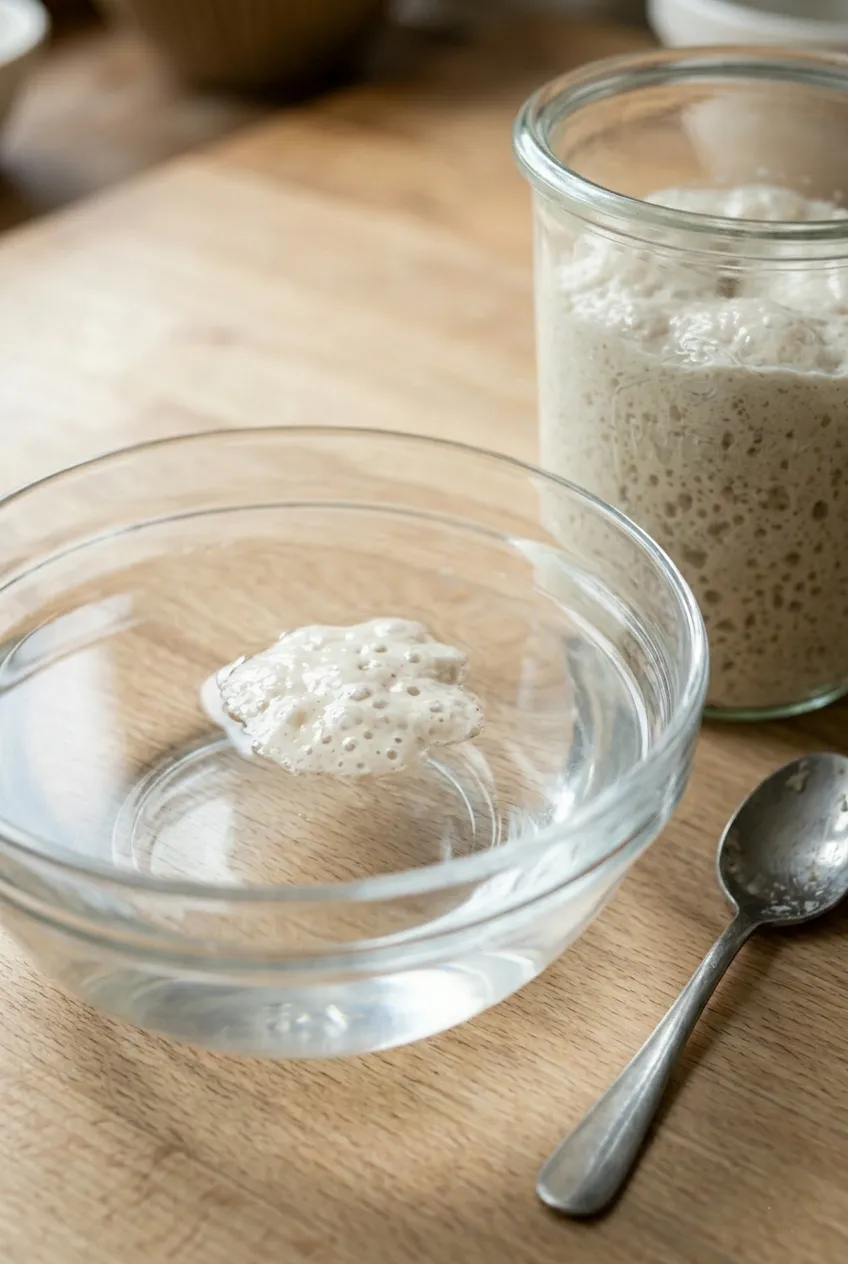
Here’s a fun little trick called the float test:
- Take a small spoonful of starter
- Drop it into a bowl of water
If it floats, congratulations — your starter is strong enough to bake with.
If it sinks, give it another day or two of feeding.
Tips for Success
A few golden rules to keep your starter thriving:
- Use room temperature water (not too hot, not too cold)
- Always discard before feeding
- Keep your jar clean around the edges
- Use a loose lid for airflow
- Be patient, this is a slow, natural process
Think of it less like cooking and more like gardening. You’re growing something.
Storing Your Sourdough Starter
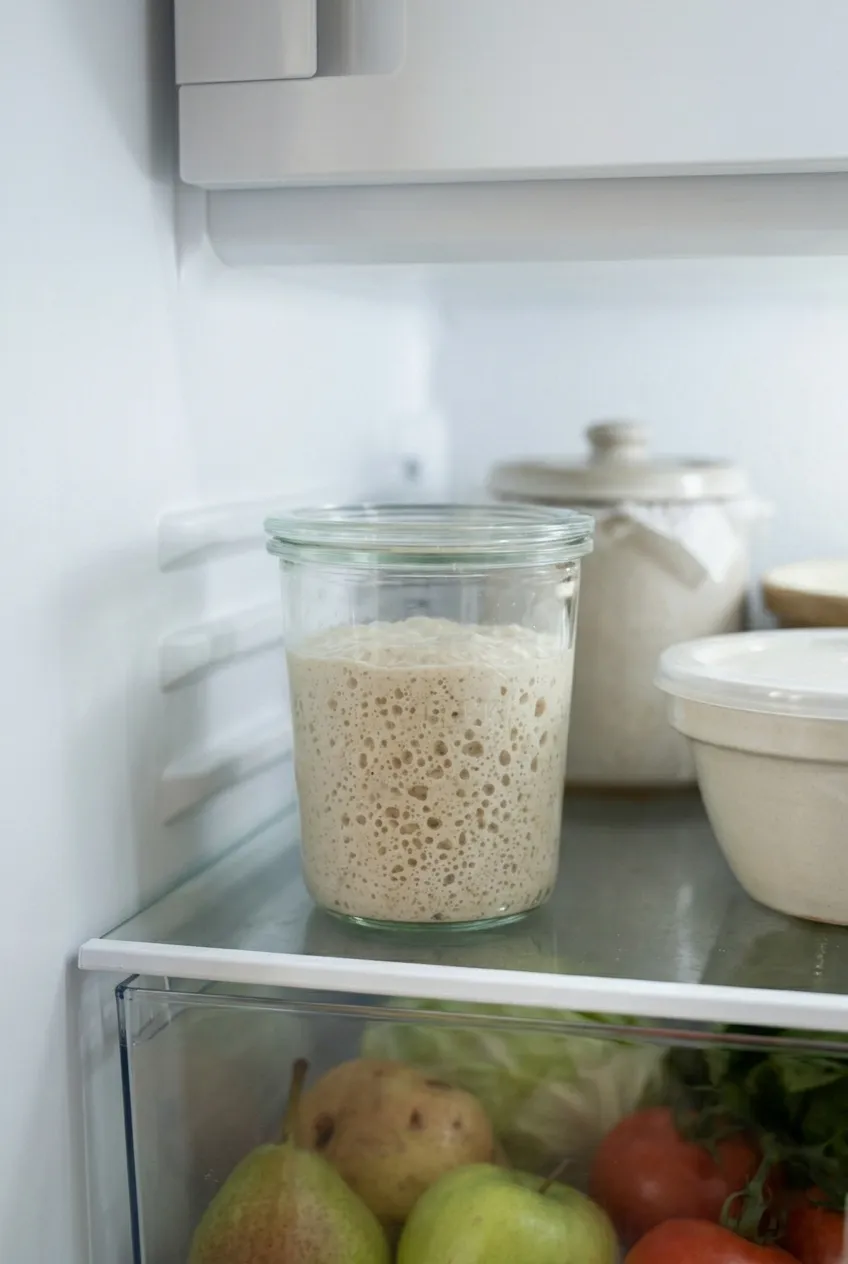
Once your starter is mature, life gets easier.
Refrigerator Storage
- Store it in the fridge if you’re not baking daily
- Feed it once a week
When ready to use:
- Take it out
- Let it come to room temperature overnight
- Feed it
- Use it the next day
It’s like waking up a sleepy bread genie.
You can also serve your sourdough alongside this chicken noodle soup for a warm and cozy combination.
Uses of Sourdough Starter
Once your starter is alive and kicking, it opens the door to a world of delicious possibilities.
1. Sourdough Bread
The classic. Crusty outside, soft inside, with that signature tang.
2. Pancakes and Waffles
Add discard to your batter for extra flavor and fluffiness.
3. Pizza Dough
Creates a chewy, flavorful crust that’s miles ahead of regular dough.
4. Crackers
Thin, crispy, and perfect for snacking.
5. Muffins and Cakes
Adds depth of flavor and slight tang.
6. Flatbreads
Quick, easy, and incredibly satisfying.
Benefits of Sourdough Starter
This humble mixture does more than just rise bread.
1. Better Digestion
The fermentation process breaks down gluten and phytic acid, making it easier on your stomach.
2. Rich Flavor
Sourdough has a complex, tangy taste you simply can’t get from commercial yeast.
3. Natural Leavening
No need for store-bought yeast. Your starter does all the work.
4. Longer Shelf Life
Sourdough bread stays fresh longer due to natural acids.
5. Nutrient Absorption
Fermentation improves the body’s ability to absorb minerals.
6. Budget-Friendly
Just flour and water. That’s bakery magic on a budget.
Common Mistakes to Avoid
- Using water that’s too hot
- Sealing the jar tightly
- Skipping feedings
- Expecting instant results
- Throwing it away too soon
Remember, even slow starters can turn into stars.
FAQs
Conclusion
Creating a sourdough starter is part science, part patience, and part quiet kitchen magic. With just flour and water, you cultivate a living culture that transforms simple ingredients into something extraordinary.
From the stillness of day one to the bubbly triumph of day seven, the journey is as rewarding as the bread itself.
Stick with it, trust the process, and before long, your kitchen will smell like a rustic bakery, and your starter will be your most loyal (and delicious) companion.