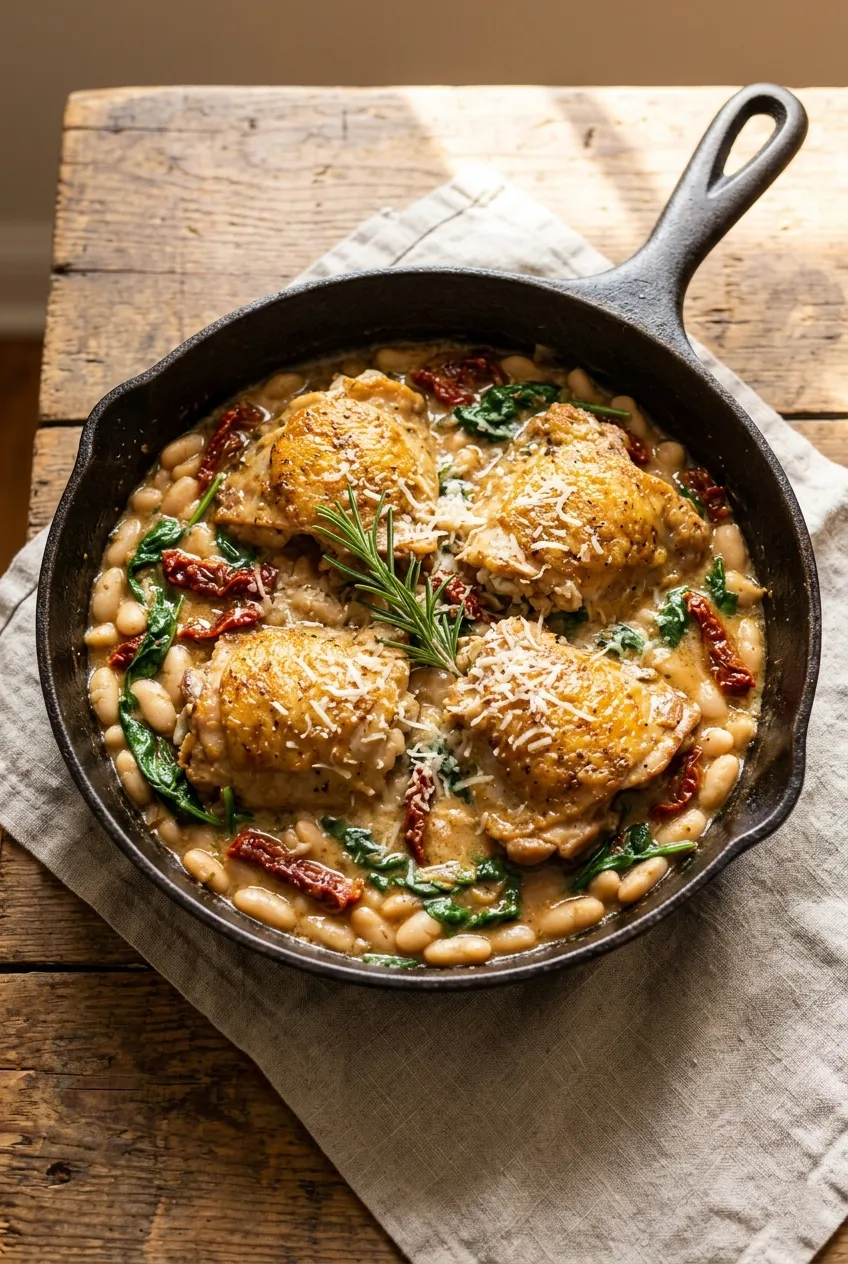
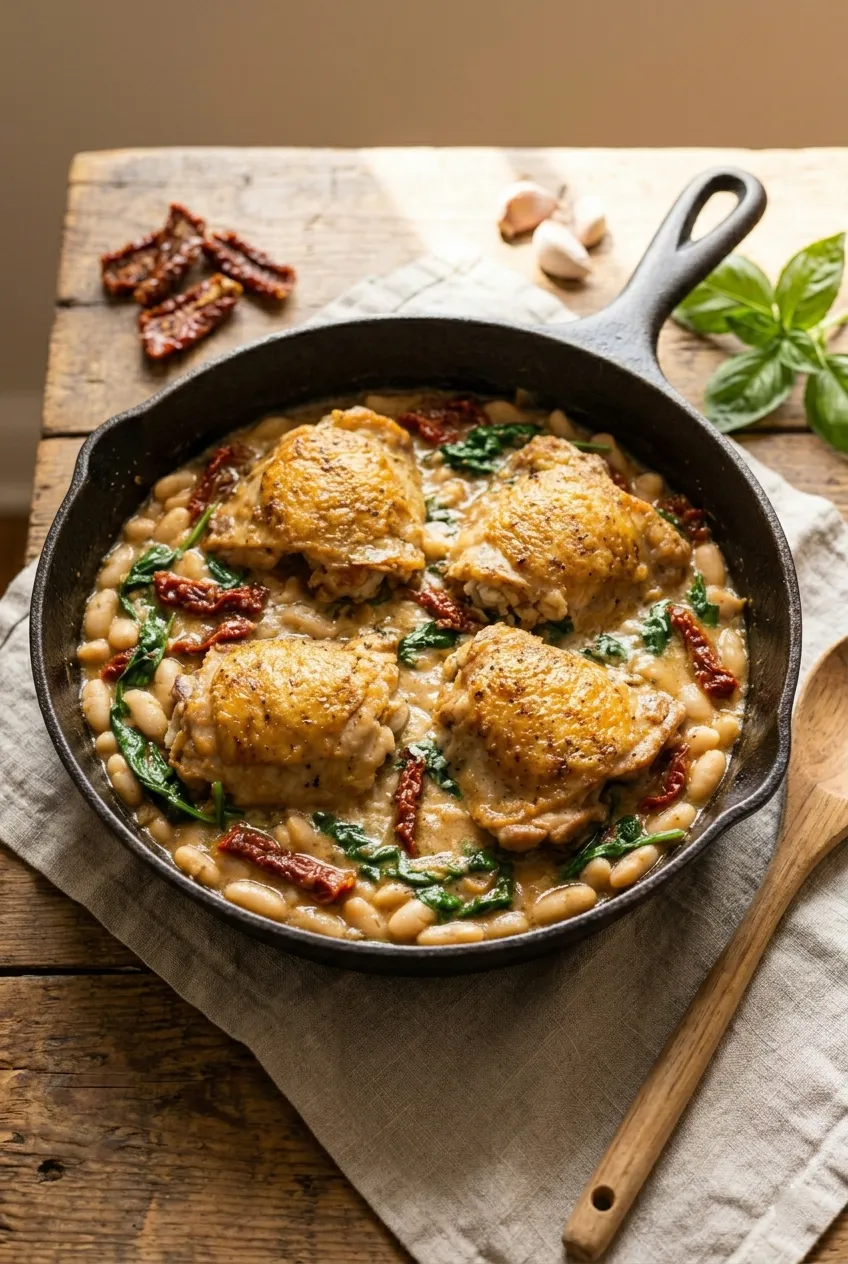
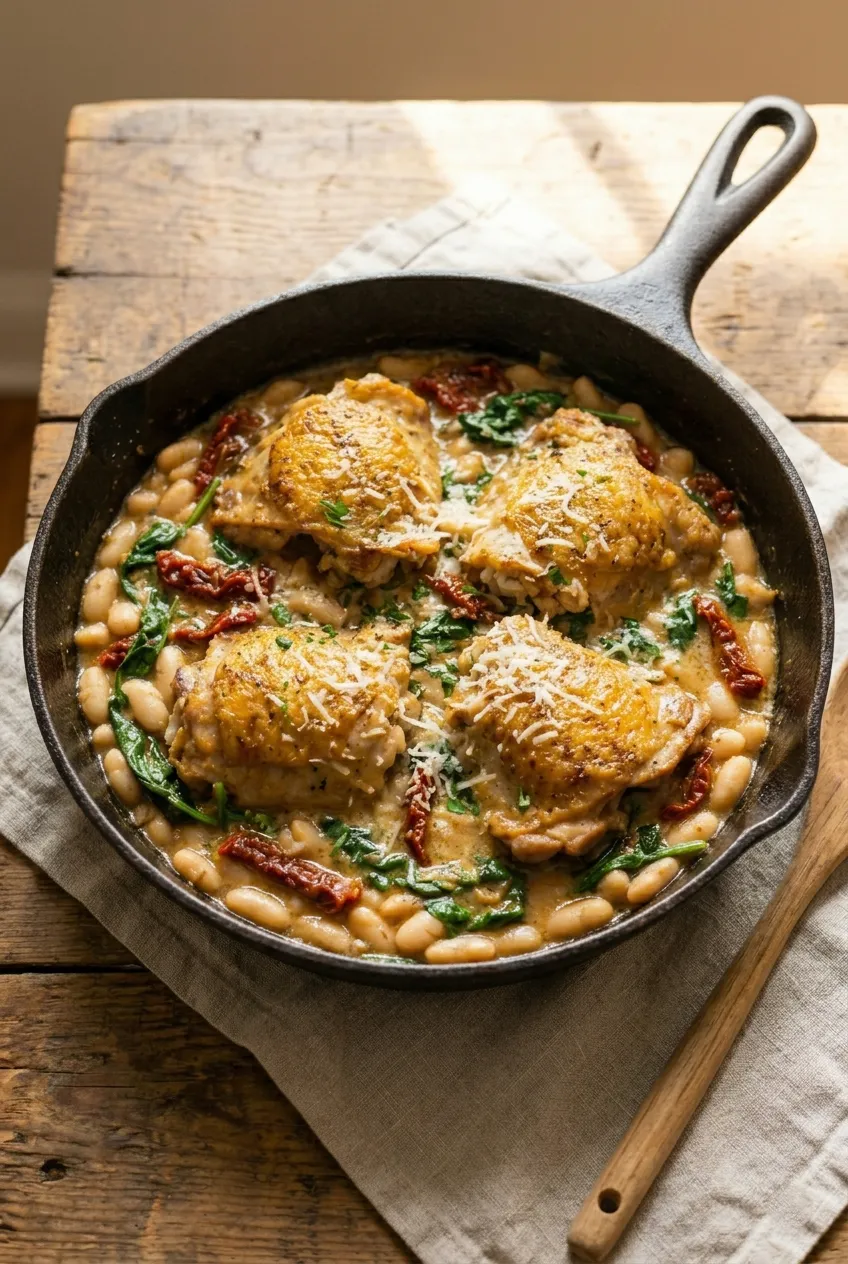
Tuscan Chicken and White Beans: An Easy One-Pan Dinner
Do you ever get tired after a long day and want a good dinner without too much work? This Tuscan chicken and white beans recipe is perfect for you. It uses just one pan, takes about 40 minutes, and tastes amazing. Even better, you don’t need to be a chef to make it!
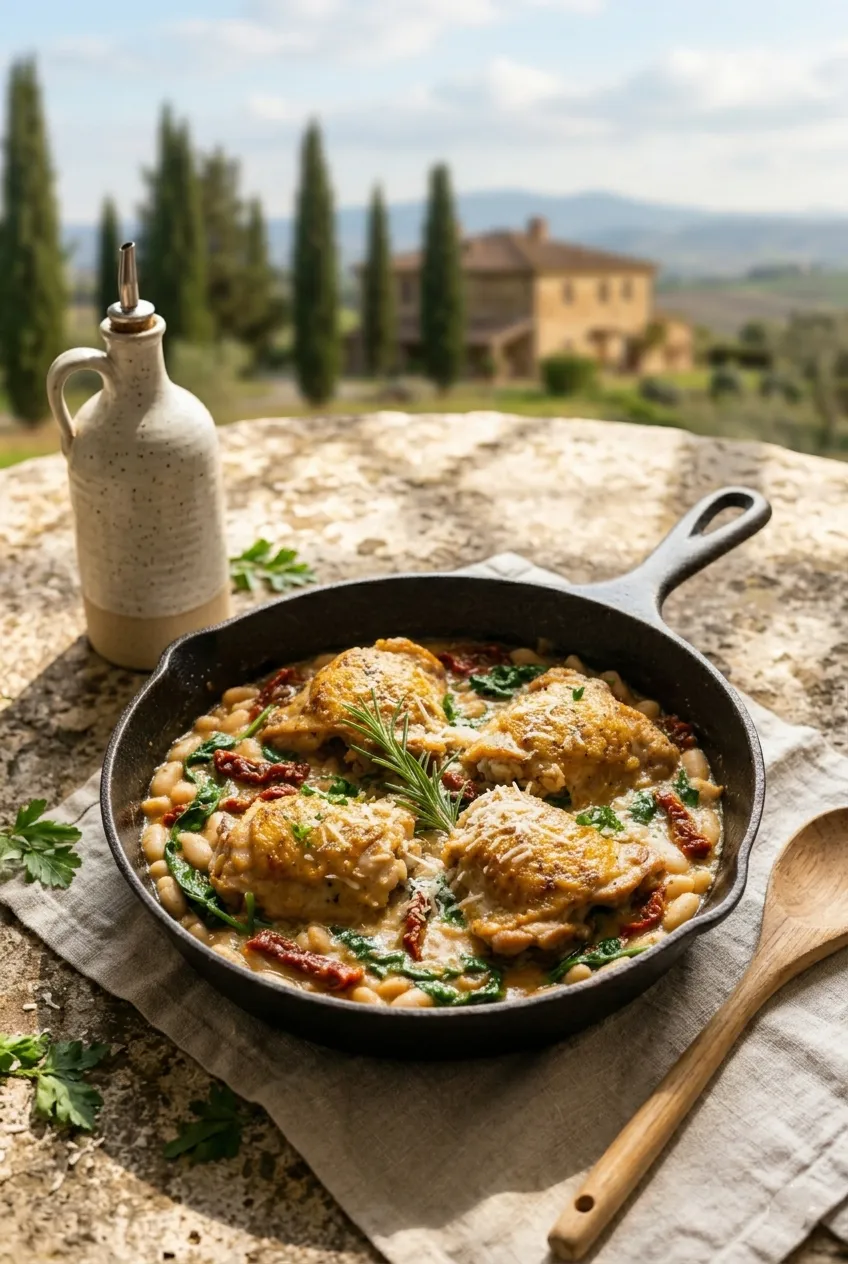
This recipe comes from Tuscany, a beautiful region in Italy. People there love simple food made with fresh ingredients. They know that good cooking doesn’t have to be complicated. This dish proves that it’s true.
Craving something creamy and indulgent? This chicken Alfredo recipe is a comforting pasta favorite.
Why You’ll Love This Recipe
Let me tell you why this recipe is so great.
First, it’s a one-pan meal. That means less cleaning up after dinner. Who doesn’t love that? You cook everything in the same pan, so you’re not washing a bunch of pots and pans later.
Second, the chicken gets really crispy on the outside but stays juicy inside. The secret is cooking it with the skin on. The skin protects the meat and gets nice and golden.
Third, the sauce is creamy and full of flavor. It has garlic, sun-dried tomatoes, and herbs. These ingredients make the whole kitchen smell wonderful while you cook.
Fourth, it’s healthy. You get protein from the chicken, fiber from the beans, and vitamins from the spinach. It’s a complete meal in one dish.
Finally, it looks fancy but isn’t hard to make. You can serve this to guests and they’ll think you spent hours cooking. But really, it’s pretty simple!
What You Need
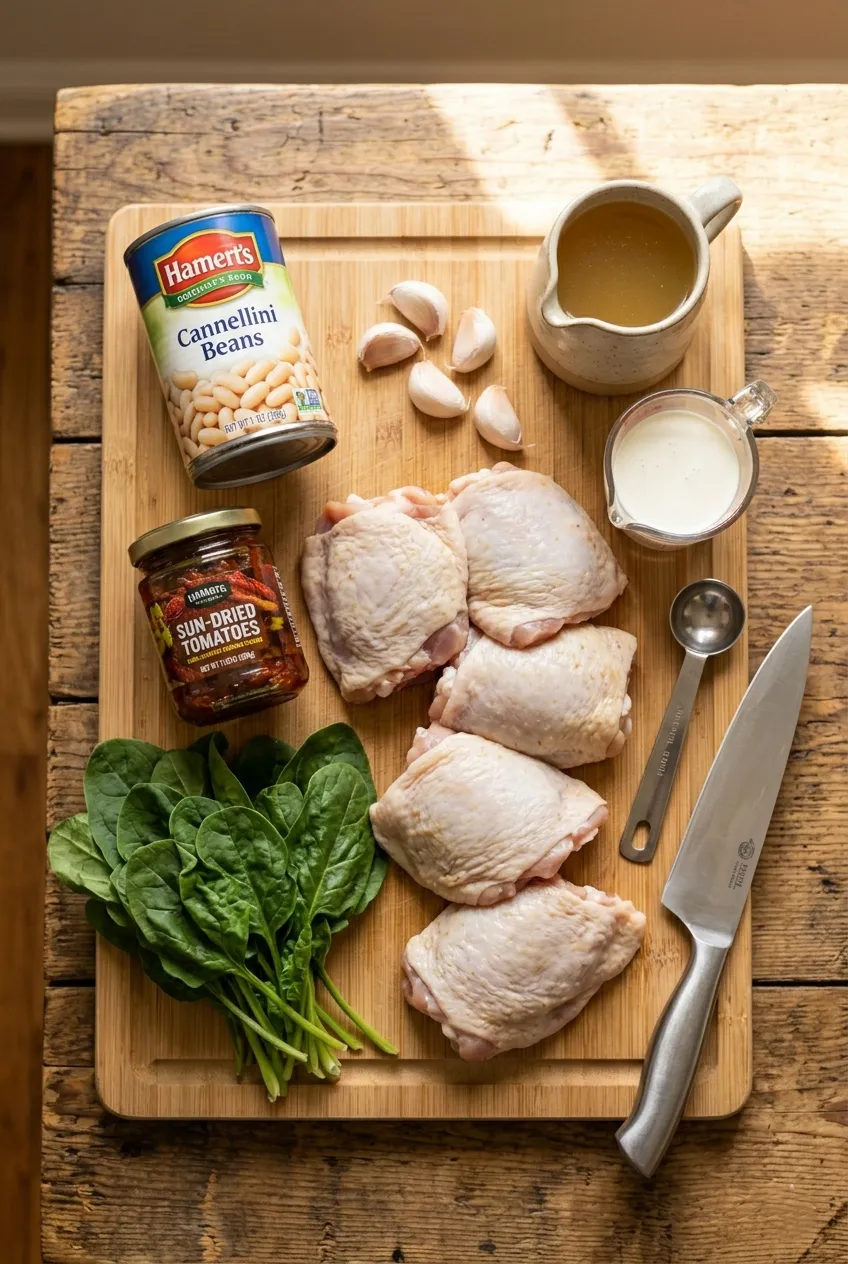
Here’s your shopping list. Most grocery stores have all these items.
For the Main Dish:
- 4 chicken thighs with skin and bone
- 1 can of white beans (14 ounces) – look for cannellini beans
- 3 ounces of sun-dried tomatoes in oil
- 1 big handful of fresh spinach (about 4 ounces)
- 4 cloves of garlic
- ¾ cup chicken broth
- ⅓ cup heavy cream
- 2 tablespoons olive oil
- 1½ teaspoons Italian seasoning
- 1 teaspoon salt
- ½ teaspoon black pepper
- Parmesan cheese for sprinkling on top
Tools You’ll Need:
- A large skillet or frying pan (one with a lid)
- Paper towels
- A sharp knife
- A cutting board
- Measuring cups and spoons
- A plate
- A wooden spoon or spatula
Planning ahead for busy days? Keep it simple with this overnight oats recipe for an easy breakfast.
How to Make It Step by Step
Now let’s cook! Follow these steps and you’ll do great.
Step 1: Prepare Your Chicken
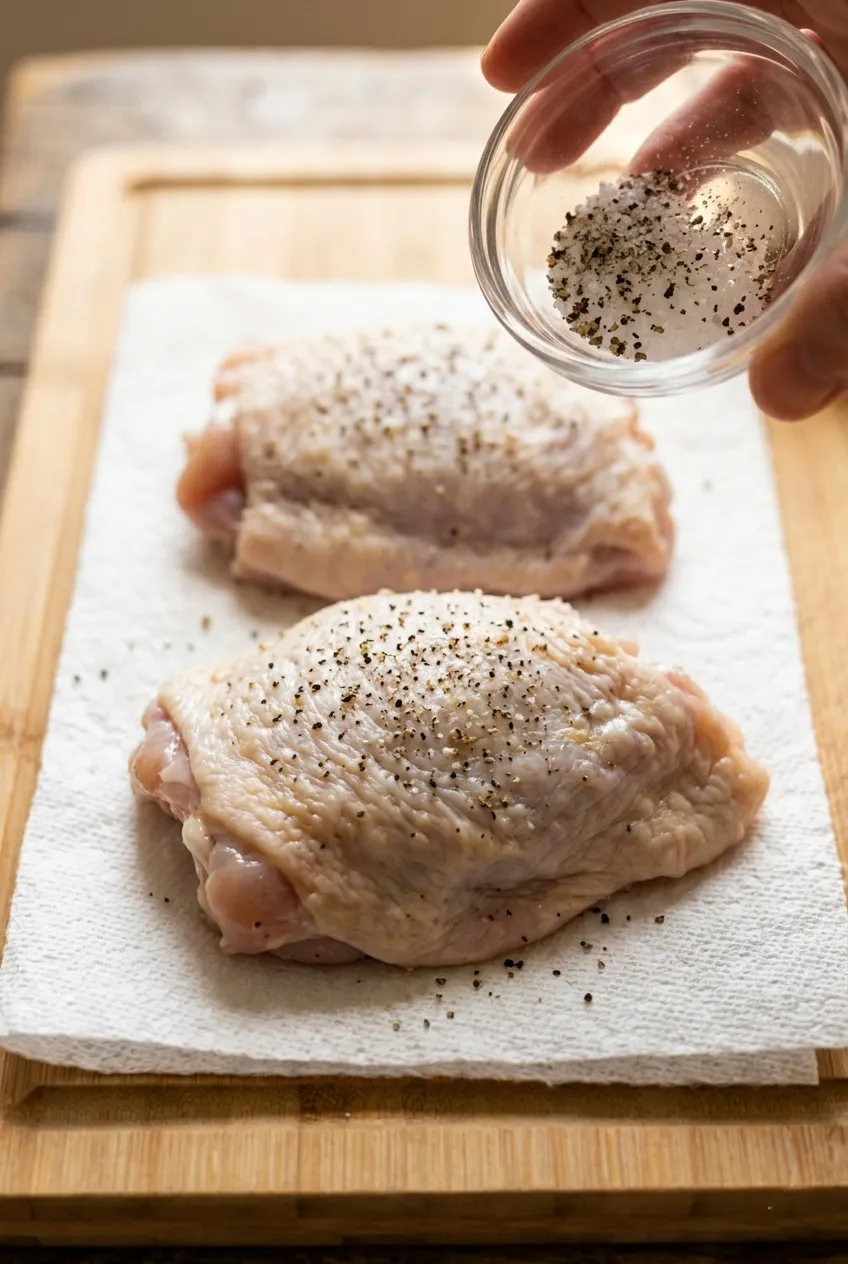
Take your chicken thighs out of the package. Use paper towels to pat them completely dry. This is really important! When the chicken is dry, the skin gets crispy when you cook it. If it’s wet, it just steams and stays soft.
Now sprinkle salt and pepper all over the chicken. Make sure you season both sides. Don’t be shy with the seasoning. The chicken is thick, so it needs enough salt and pepper to taste good.
Step 2: Cook the Chicken Until Golden
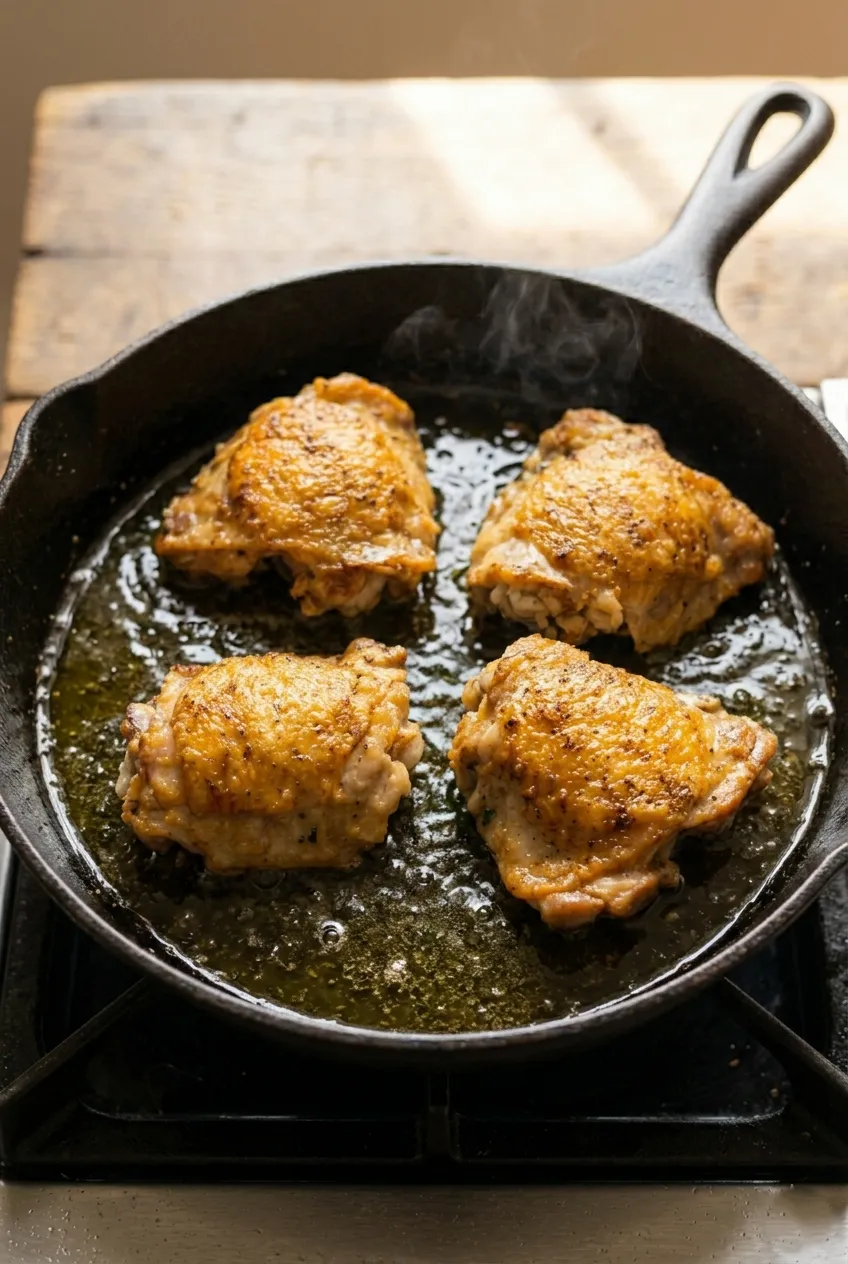
Put your big pan on the stove. Turn the heat to medium-high. Add the olive oil and let it heat up for about a minute. You’ll know it’s ready when the oil shimmers and moves easily around the pan.
Carefully place the chicken thighs in the pan with the skin side facing down. This is important – skin side down first! Now here’s the hard part: don’t touch them. I know it’s tempting to peek or move them around, but don’t do it. Let them sit there for 8 whole minutes.
What’s happening during those 8 minutes? The skin is turning golden brown and crispy. If you move the chicken around, it won’t get crispy. Just let it be.
After 8 minutes, flip each piece of chicken over. Cook the other side for 3 more minutes. The chicken won’t be fully cooked yet, but that’s okay. We’ll finish cooking it in the sauce later.
Take the chicken out of the pan and put it on a plate. Set it aside for now.
Step 3: Make the Flavor Base
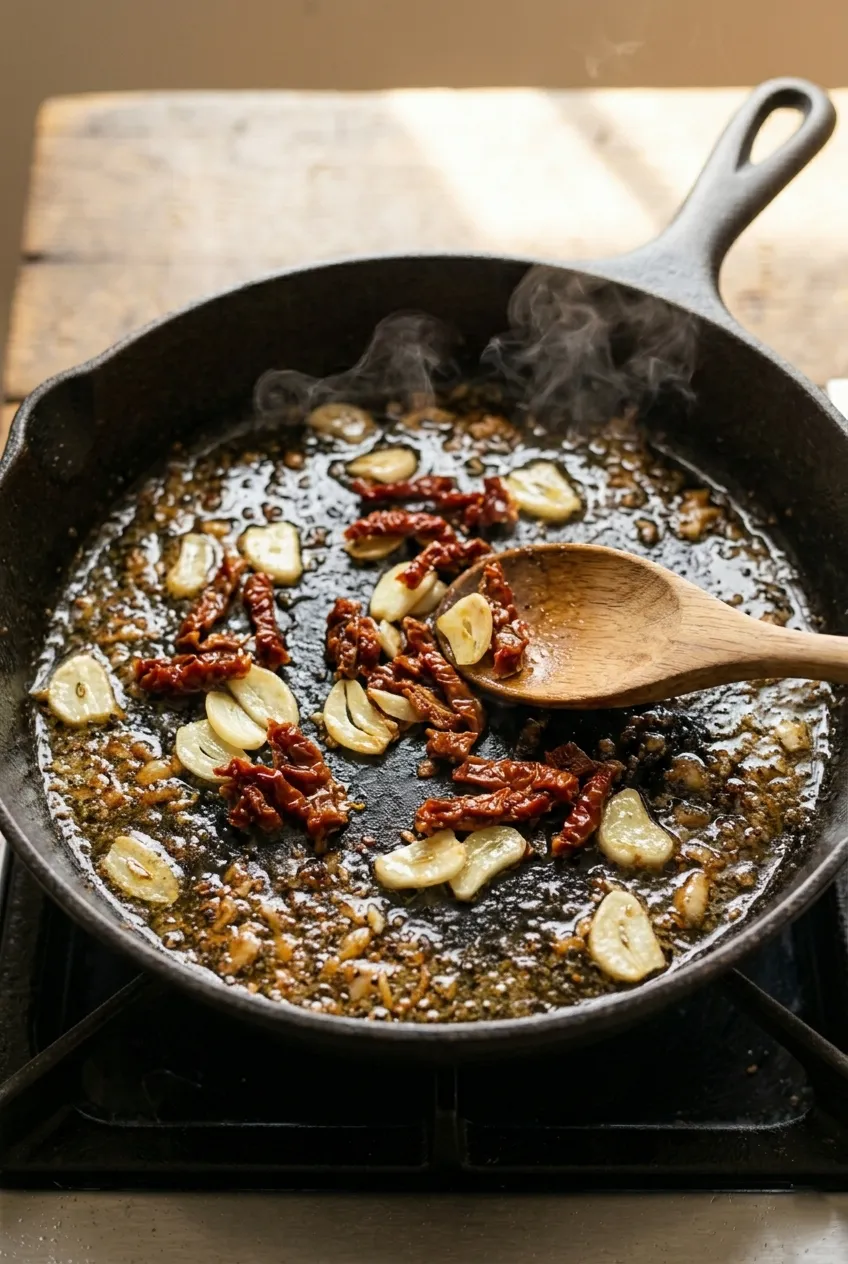
Look at your pan. See all those brown bits stuck to the bottom? That’s flavor! Don’t wash the pan. We’re going to use those bits.
Turn your heat down to medium. While the pan is still hot, add your sliced garlic and chopped sun-dried tomatoes. Stir them around with a wooden spoon.
Cook these for about 2 minutes. You’ll smell the garlic – it smells wonderful! The garlic should turn just a little bit brown. If it starts getting too dark, turn your heat down a bit more. Burned garlic tastes bitter, so we don’t want that.
Step 4: Build Your Sauce
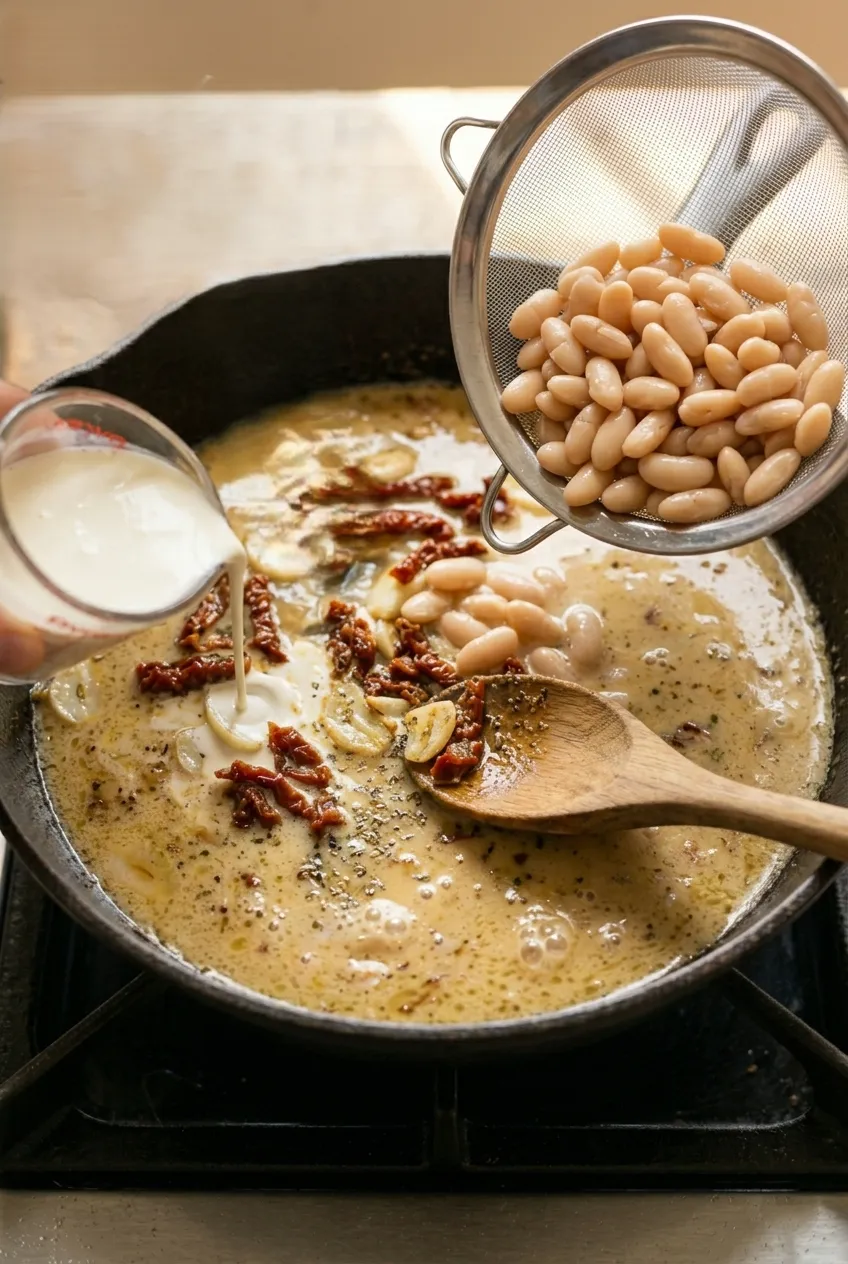
Now pour in the chicken broth and cream. As you pour, use your spoon to scrape all those brown bits off the bottom of the pan. This is called deglazing, and it makes your sauce taste even better.
Add your Italian seasoning. If you don’t have Italian seasoning, you can use oregano and basil instead. Both work great.
Open your can of white beans. Pour them into a strainer and rinse them with cold water. This washes off the thick liquid from the can. Then add the beans to your pan.
Stir everything together. Let it bubble gently for about 3 minutes. The sauce will thicken up a little bit. You’ll see small bubbles popping on the surface. That’s perfect.
Step 5: Finish Cooking the Chicken
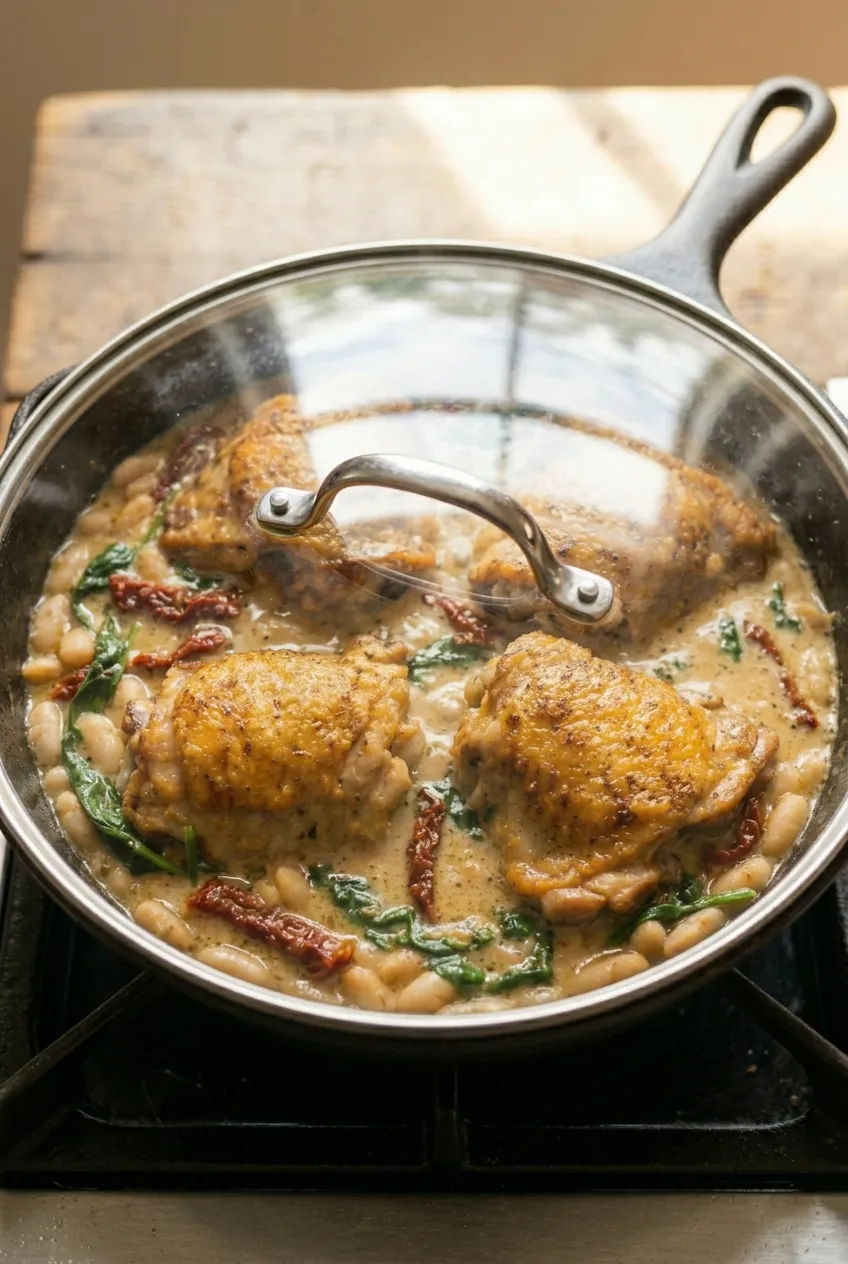
Remember that chicken we set aside? It’s time to add it back to the pan. Put each piece into the sauce with the skin side facing up. We want the skin to stay above the sauce so it stays crispy.
Turn your heat down to medium-low. That means a gentler heat than before. Put a lid on your pan.
Let it cook for 15 minutes. During this time, the chicken finishes cooking all the way through. The sauce bubbles gently around it, making everything taste good together.
How do you know when chicken is done? The safest way is to use a meat thermometer. Stick it into the thickest part of the chicken. It should read 165°F. If you don’t have a thermometer, cut into one piece. The meat should be white all the way through with no pink parts.
Step 6: Add the Spinach
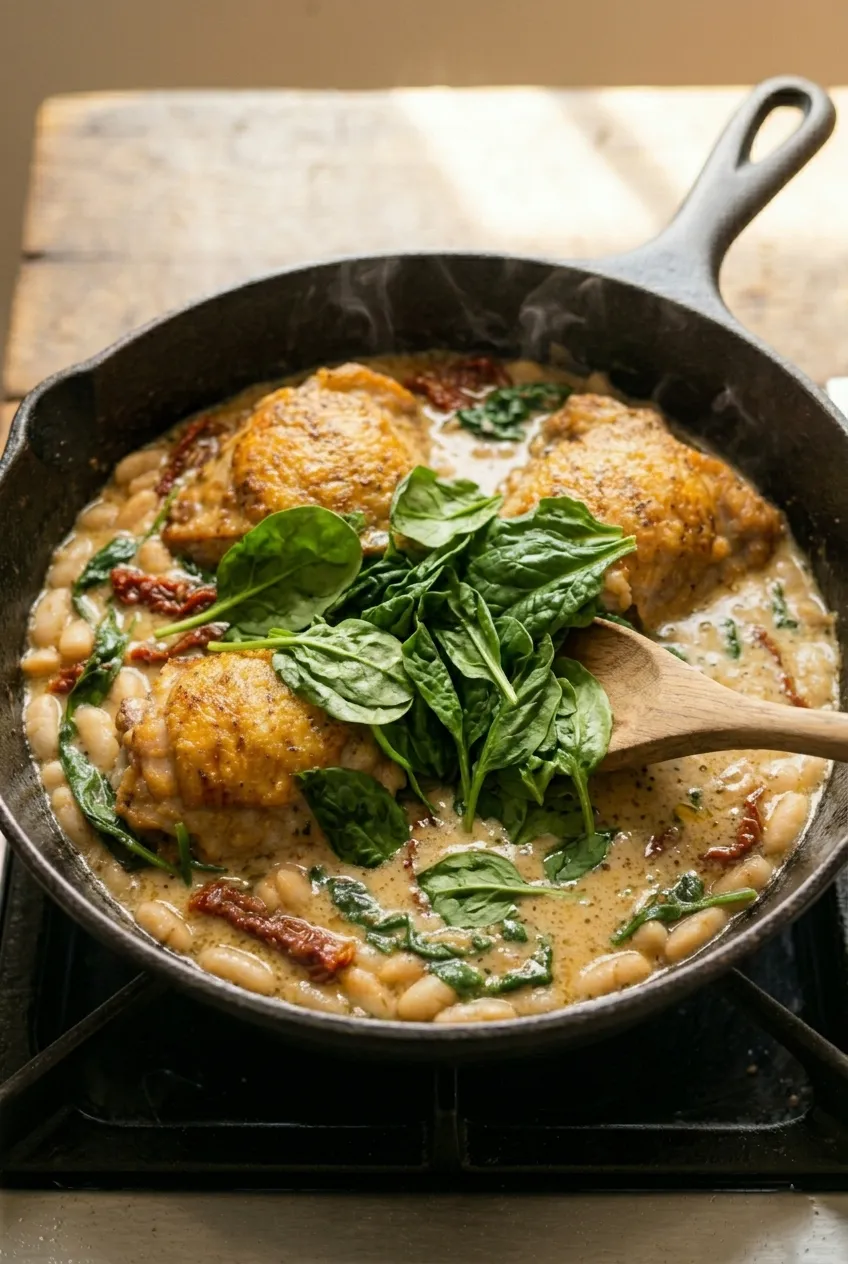
Take the lid off your pan. Look at all that delicious sauce bubbling around the chicken!
Now add your spinach. Fresh spinach is really fluffy and takes up a lot of space. That’s why I like to add it in two batches. Add half the spinach first. Stir it into the sauce. It will shrink down a lot as it cooks – that’s normal. Once the first batch has wilted down, add the rest.
The whole process takes about 2 minutes. The spinach should be soft and dark green, not bright green anymore.
Step 7: Serve Your Masterpiece
Turn off the heat. Let your pan sit for about 2 minutes. This gives the sauce a chance to thicken up just a little bit more.
Grate some parmesan cheese over the top. Not too much, not too little – just enough to add a salty, cheesy flavor.
Now you can serve it right from the pan. If you want, transfer it to a nice serving dish. But honestly, serving it from the pan looks rustic and beautiful.
What to Serve With It
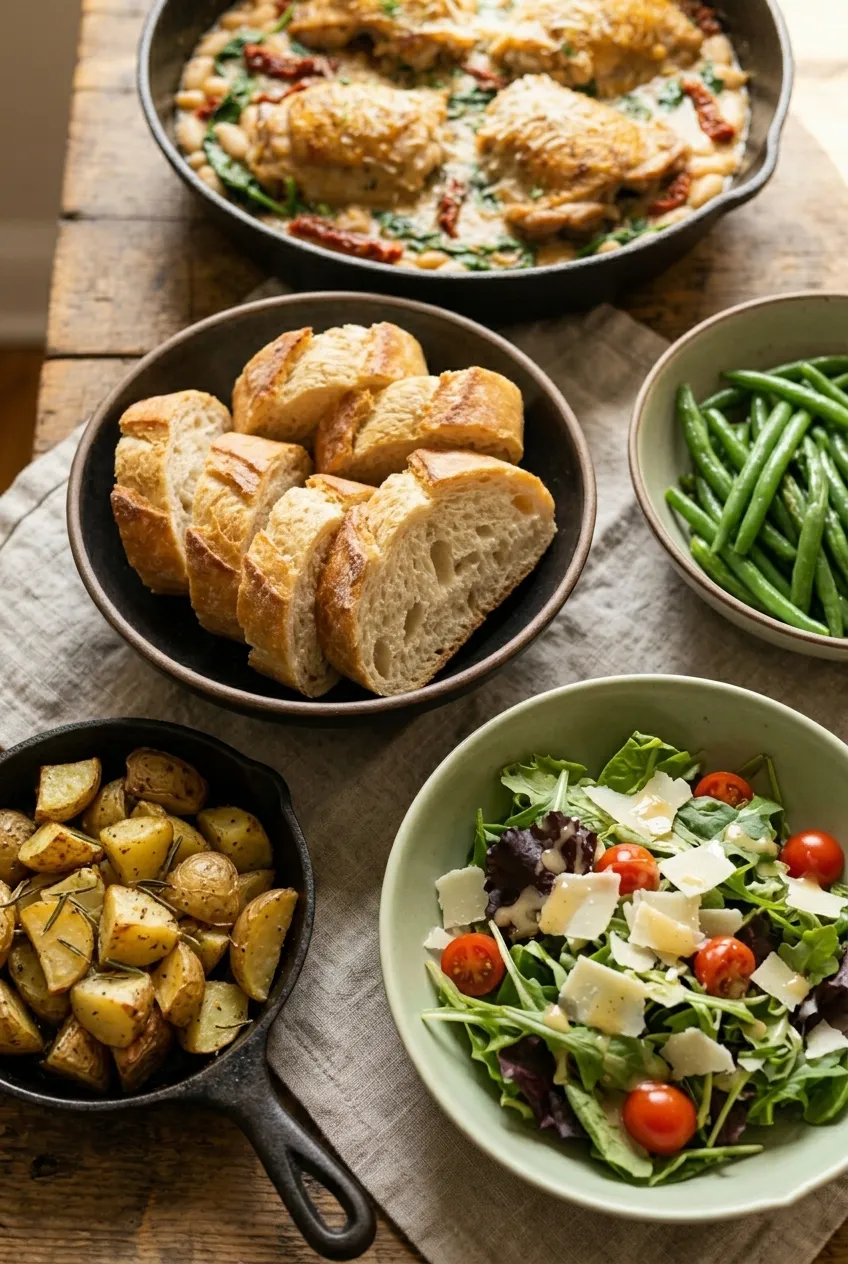
This dish is pretty complete on its own, but here are some good side dishes:
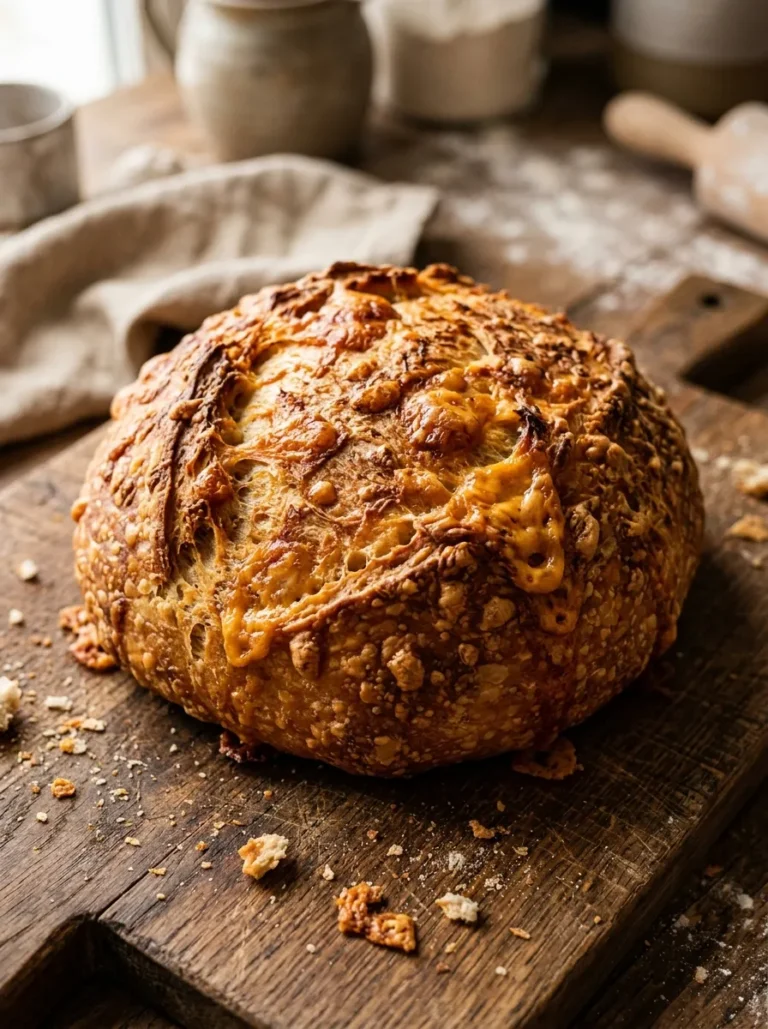
Crusty Bread: Get a good loaf of Italian or French bread. The bread is perfect for soaking up all that delicious sauce. Trust me, you won’t want to waste a single drop.
Simple Salad: A green salad with a light dressing is nice. It adds some crunch and freshness to balance the rich, creamy sauce.
Roasted Potatoes: Cut some potatoes into chunks, toss them with olive oil and salt, and roast them in the oven. They’re hearty and filling.
Pasta: You could serve a small portion of pasta on the side. Plain pasta with just a little butter works well.
Roasted Vegetables: Broccoli, carrots, or green beans roasted in the oven are all good choices.
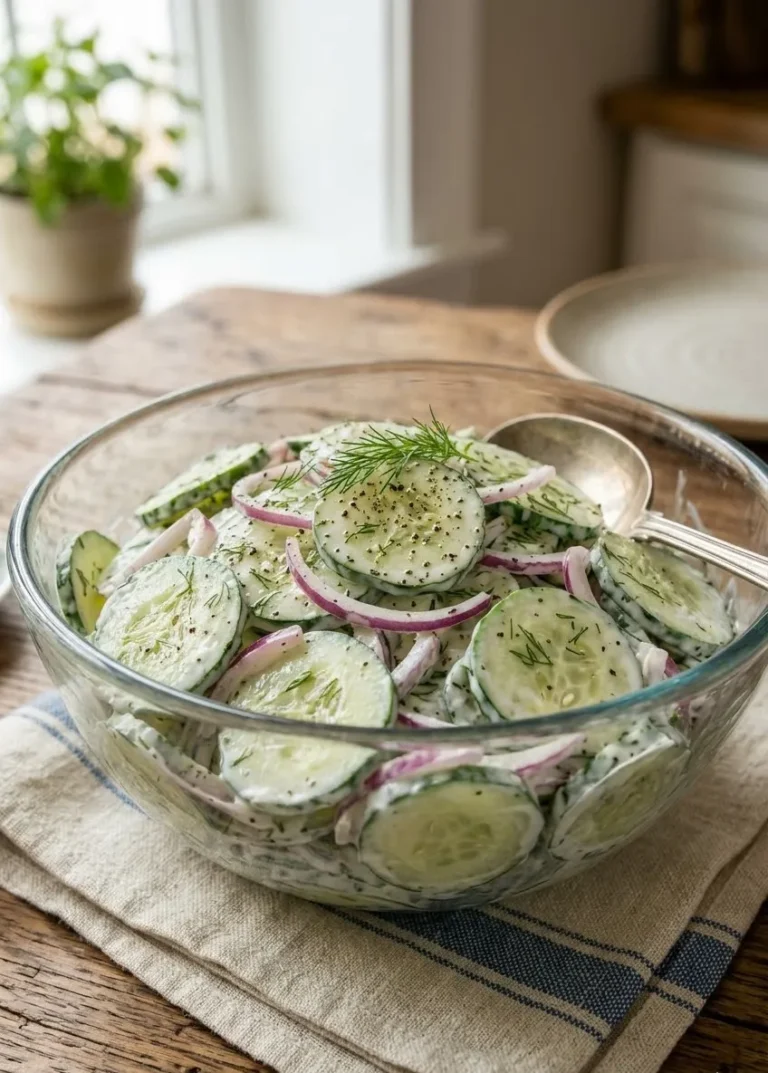
Add a refreshing contrast to your meal with this cucumber salad guide packed with crisp ideas.
Tips for Success
Here are some extra tips to make this recipe turn out perfectly:
About the Chicken: Chicken thighs with skin and bone have the most flavor. But if you prefer, you can use boneless chicken thighs. They’ll cook about 5 minutes faster. Just watch them so they don’t overcook and get dry.
Don’t Skip Drying the Chicken: I know I already said this, but it’s really important. Dry chicken = crispy skin. Wet chicken = soggy skin. Take the extra minute to pat it dry.
Use a Big Enough Pan: Make sure your pan is big enough to fit all four chicken thighs without crowding them. If they’re too close together, they won’t brown properly.
Watch Your Heat: If your stove runs hot, you might need to use medium heat instead of medium-high. If things start smoking or burning, turn it down.
Substitutions Are Okay: Don’t have spinach? Use kale or Swiss chard instead. They both taste great. Kale is a bit tougher, so it might need an extra minute to cook.
Make It Dairy-Free: If you can’t eat dairy, skip the cream and use more chicken broth instead. It won’t be quite as creamy, but it’ll still taste good.
Storing and Reheating Leftovers
Good news! This dish makes great leftovers.
Put any leftover chicken and sauce in a container with a lid. Store it in the refrigerator. It will stay good for up to 3 days.
To reheat it, you have two options:
Microwave Method: Put a portion on a microwave-safe plate. Cover it with a damp paper towel. Heat for 2-3 minutes, stirring halfway through.
Stovetop Method: Put it in a pan over medium-low heat. Add a splash of chicken broth or water to loosen up the sauce. Heat until it’s warm all the way through.
The chicken skin won’t be as crispy when you reheat it, but everything will still taste delicious.
Pair your Tuscan dish with a side of this Mexican rice recipe for a flavorful and filling combo.
Frequently Asked Questions
If you’re in the mood for smoky flavors, try this chicken barbecue recipe for a bold and juicy twist.
Conclusion
There you have it! A complete guide to making Tuscan chicken and white beans. This recipe shows that you don’t need fancy skills or expensive ingredients to make a restaurant-quality meal at home.
The best part about this dish is how it brings people together. When you make this for your family or friends, you’re giving them more than just food. You’re giving them a warm, homemade meal made with care. That means something special.
Don’t be nervous if this is your first time making it. Just follow the steps, take your time, and enjoy the process. Cooking should be fun, not stressful. Even if it’s not perfect the first time, it will still taste good. And you’ll do even better the next time.
So grab your ingredients, find your pan, and give it a try. Your kitchen will smell amazing, your family will be impressed, and you’ll have a delicious dinner ready in about 40 minutes. What could be better than that?
Happy cooking!