Classic Crème Brûlée Recipe (Rich, Creamy & Perfectly Caramelized)
Hey, today, we’re making crème brûlée.
So let’s get started.
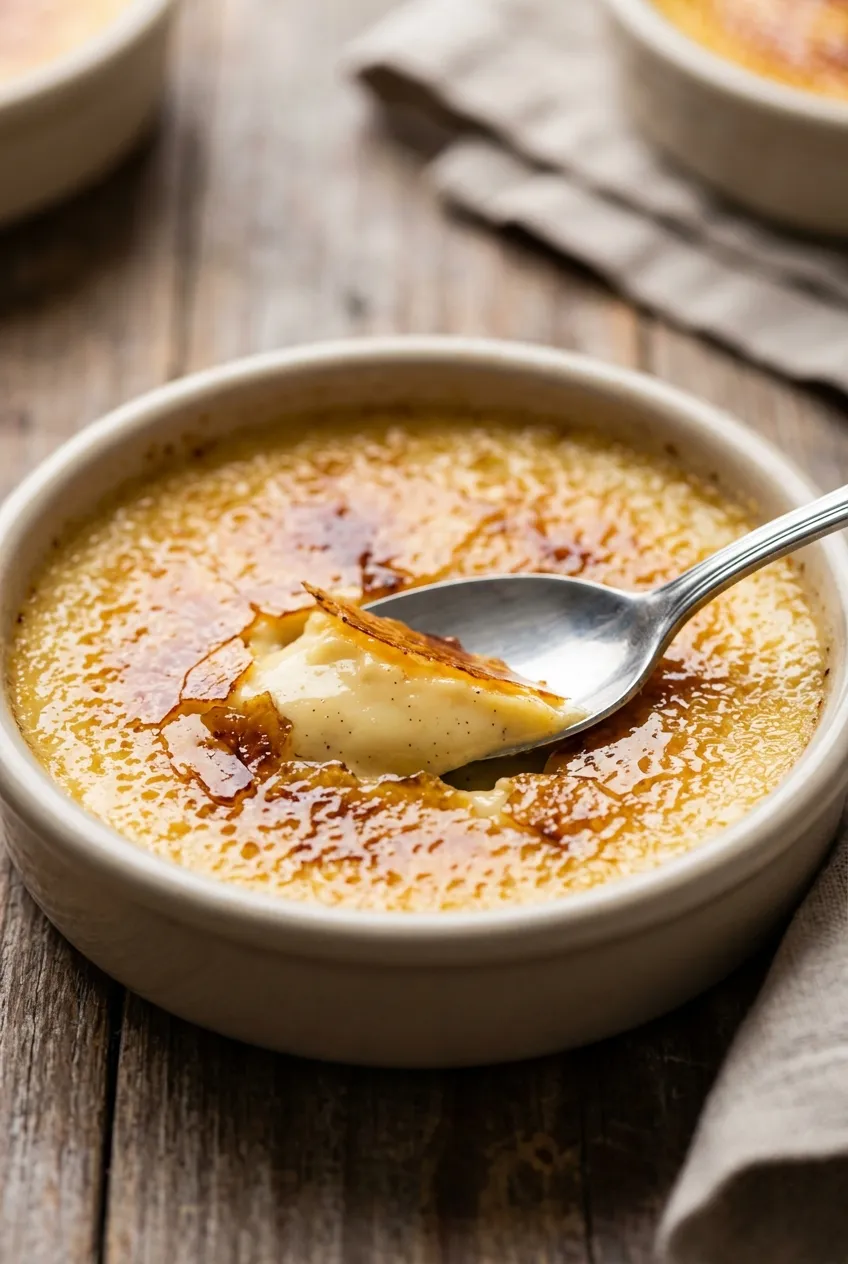
This is one of those desserts that feels fancy, looks impressive, but is actually surprisingly simple when you break it down. It’s creamy, delicate, full of rich vanilla flavor, and that crack on top? That’s the best part. That moment when your spoon taps through the caramelized sugar and reveals that silky custard underneath… that’s what we’re here for.
Why This Crème Brûlée Recipe Works
This recipe keeps things simple and classic:
- Rich custard base
- Real vanilla flavor
- Smooth, creamy texture
- Perfect caramelized sugar topping
It’s all about technique. Once you understand the process, you’ll be making this again and again.
If you love creamy desserts, this key lime pie recipe offers a bright and tangy twist.
Ingredients You’ll Need
- 3 cups heavy cream (about 720 ml)
- 1 vanilla bean (or 1 tablespoon vanilla extract or paste)
- 5 egg yolks
- 1/2 cup sugar
- A pinch of salt (about 1/8 teaspoon)
- 1 1/2 teaspoons sugar per ramekin (for topping, caster or granulated)
Step 1: Prepare the Vanilla
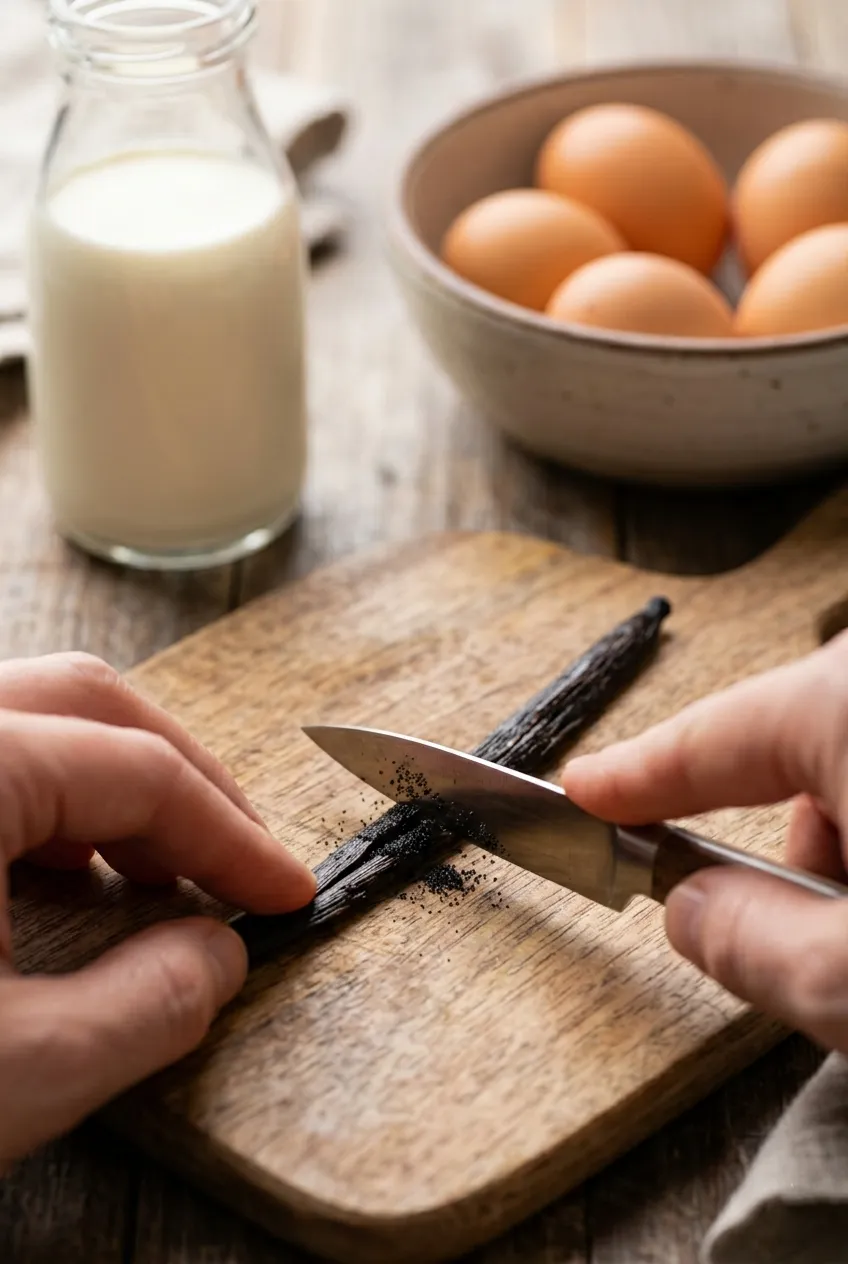
First off, grab your vanilla bean.
Use a sharp knife and slice it down the middle lengthwise.
Open it up and you’ll see all those tiny seeds inside. That’s where all the flavor is. It’s rich, aromatic, and honestly, it smells incredible.
Now scrape it clean using your knife or a spoon. Get all those seeds out. That’s your flavor base.
Set it aside.
Step 2: Heat the Cream
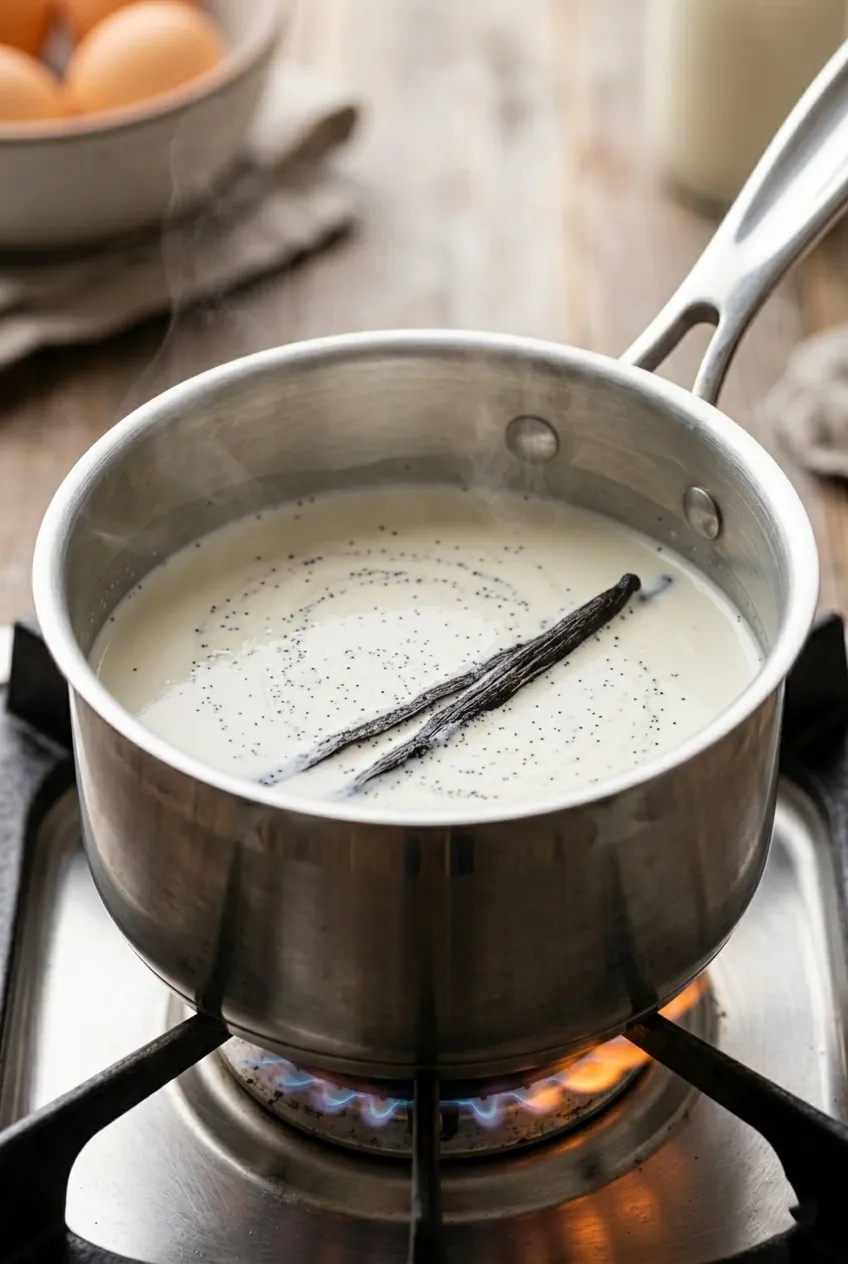
In a medium saucepan, add your heavy cream.
Pour in all three cups.
Now add the vanilla seeds along with the pod itself.
Place this over medium heat and bring it just to a gentle simmer. Not boiling. Just enough so it starts to heat through.
Once it reaches that point, turn off the heat and let it sit for about 15 minutes.
This step is important. It allows the vanilla to fully infuse into the cream.
Step 3: Prepare the Custard Base
While your cream is infusing, preheat your oven to 325°F.
Now separate your eggs.
You only need the yolks for this recipe. Set the whites aside. You can use them for something else, like meringue.
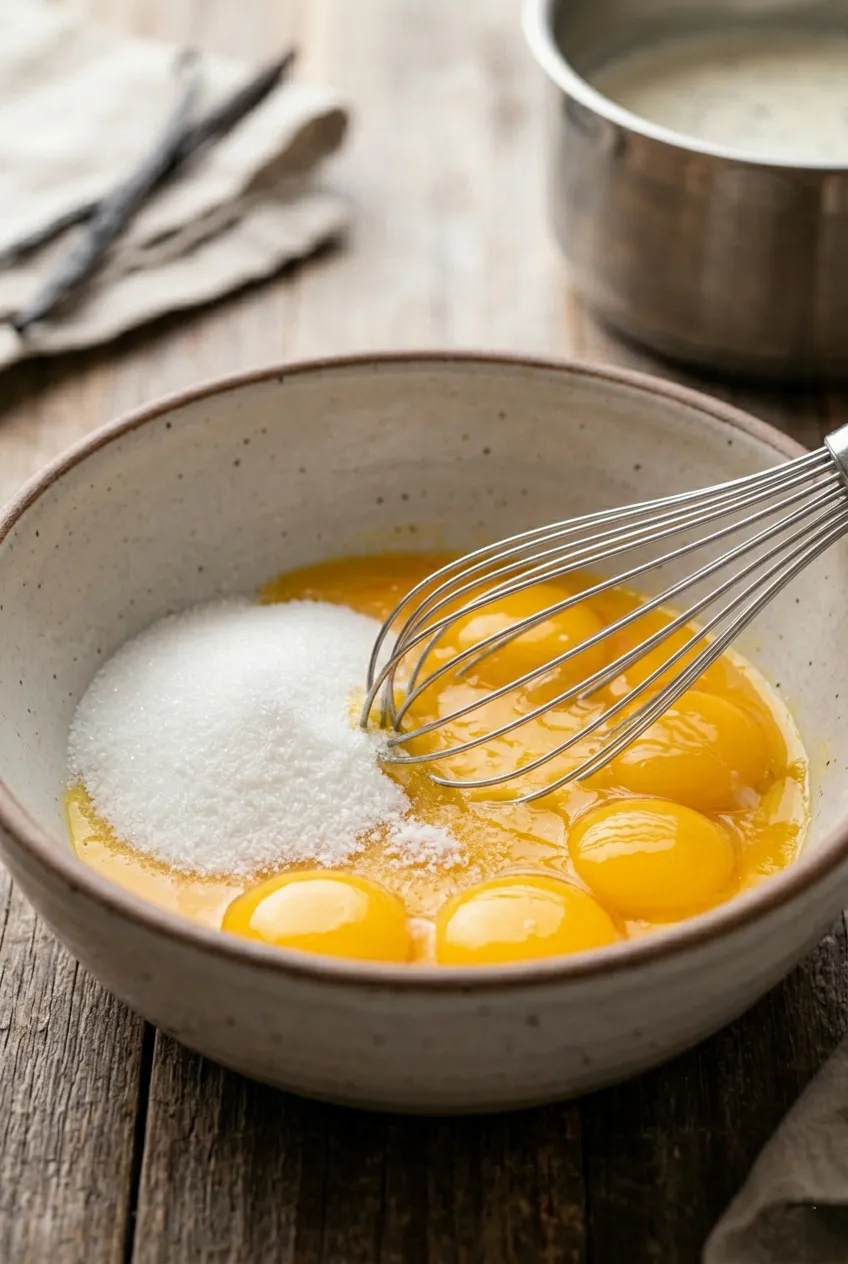
Add the egg yolks to a bowl.
Now add:
- 1/2 cup sugar
- A pinch of salt
Whisk everything together until combined.
You don’t need to overmix. Just a gentle whisk until it comes together smoothly.
Step 4: Combine Cream and Eggs
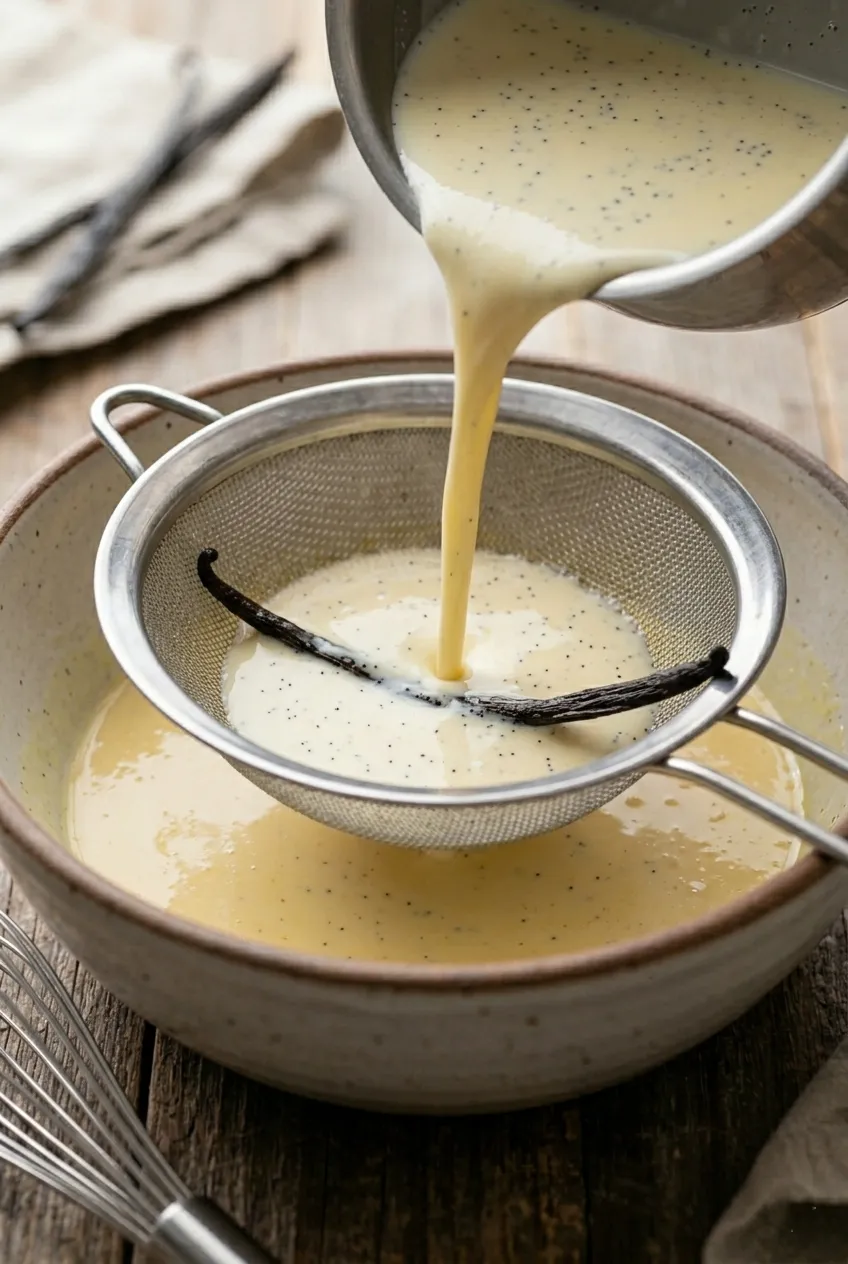
After the cream has rested and cooled slightly, it’s ready to use.
Place a sieve over your egg mixture and slowly pour the cream through it.
This removes any pieces of the vanilla pod and ensures a smooth texture.
Now gently stir everything together.
The reason we let the cream cool earlier is simple. If it’s too hot, it will cook the eggs and turn them into scrambled eggs. And that’s not what we want.
This way, everything blends smoothly into a silky custard.
Step 5: Fill the Ramekins
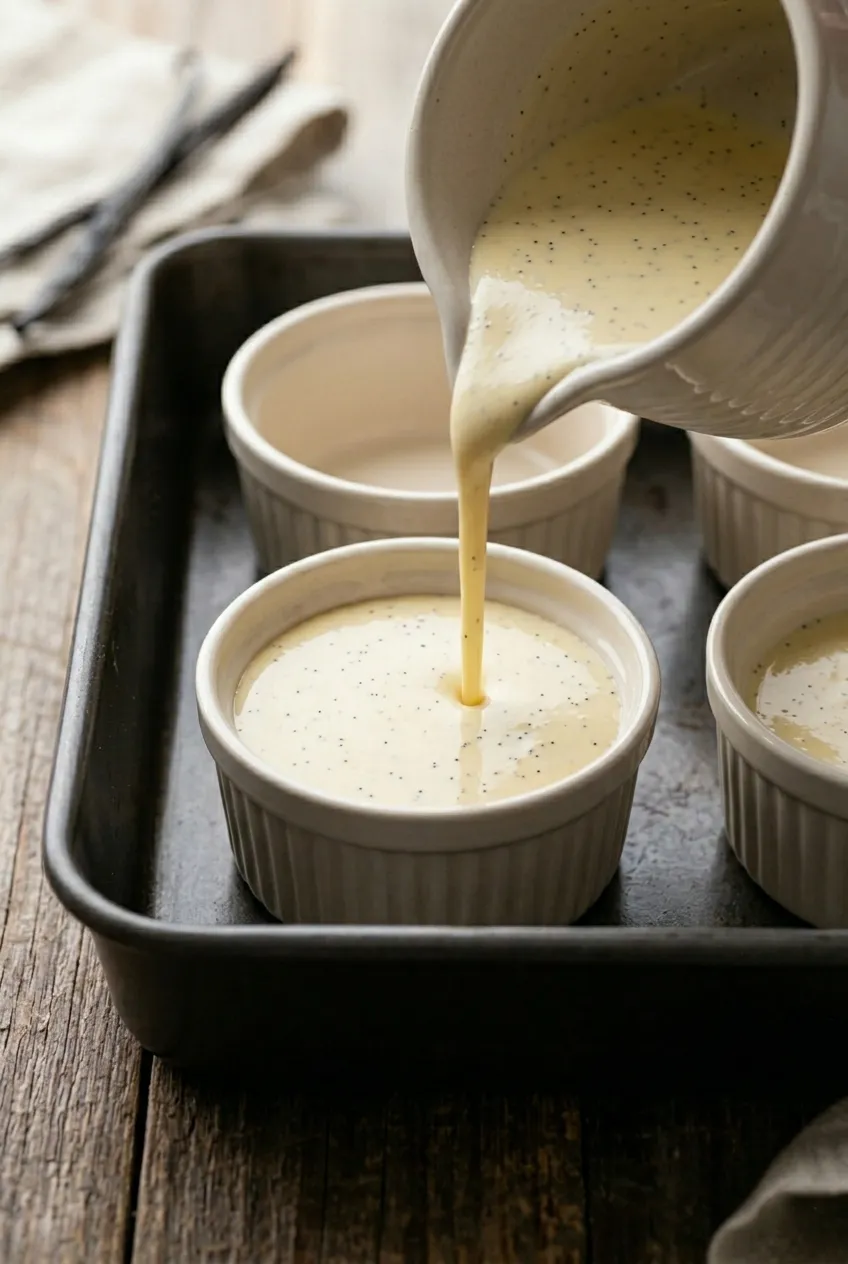
Place your ramekins into a deep baking dish.
Slowly pour the custard mixture into each ramekin.
Fill them almost to the top.
Step 6: Create a Water Bath (Bain-Marie)
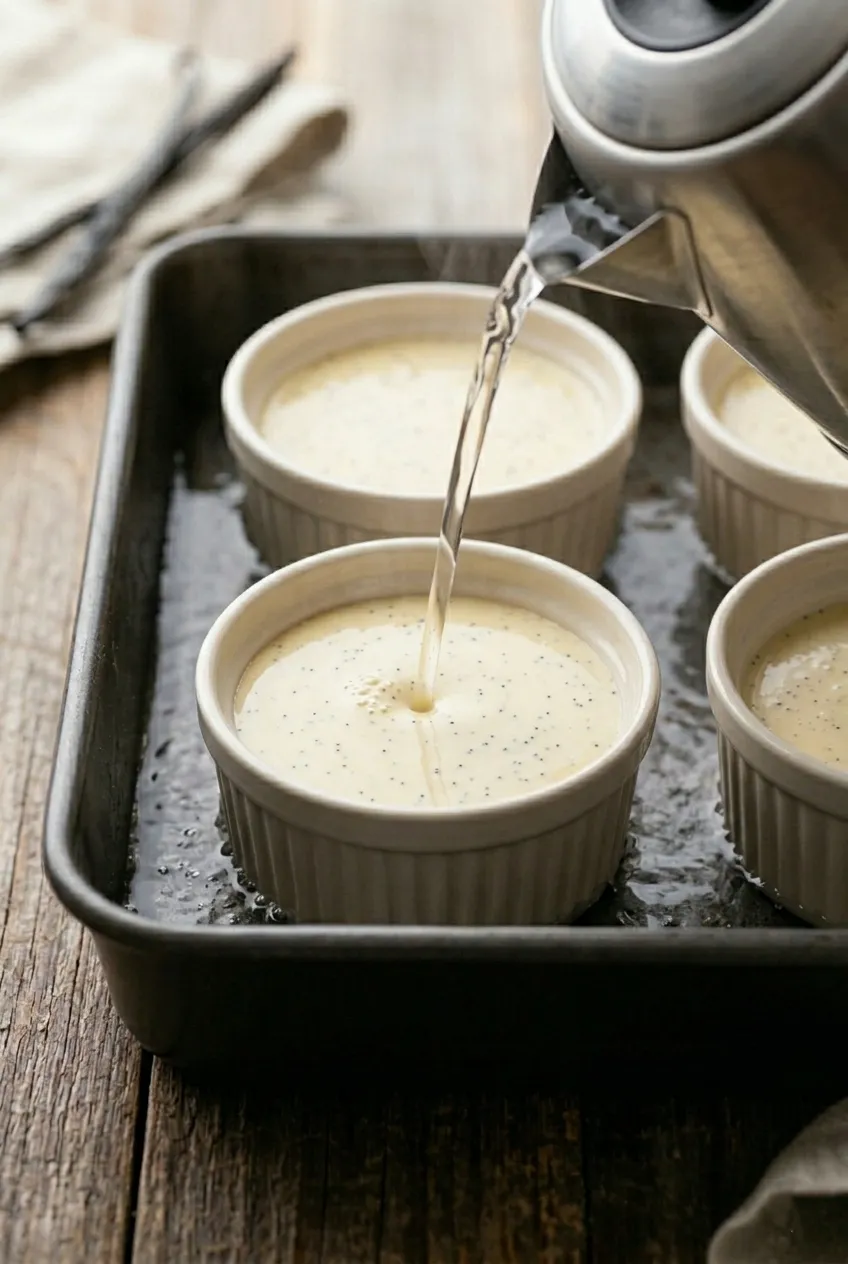
Now we’re going to cook this in a bain-marie.
That just means adding hot water around the ramekins so the custard cooks evenly.
Carefully pour hot water into the baking dish until it reaches about one-third of the way up the sides of the ramekins.
Be careful here. The water is hot.
Step 7: Bake the Custard
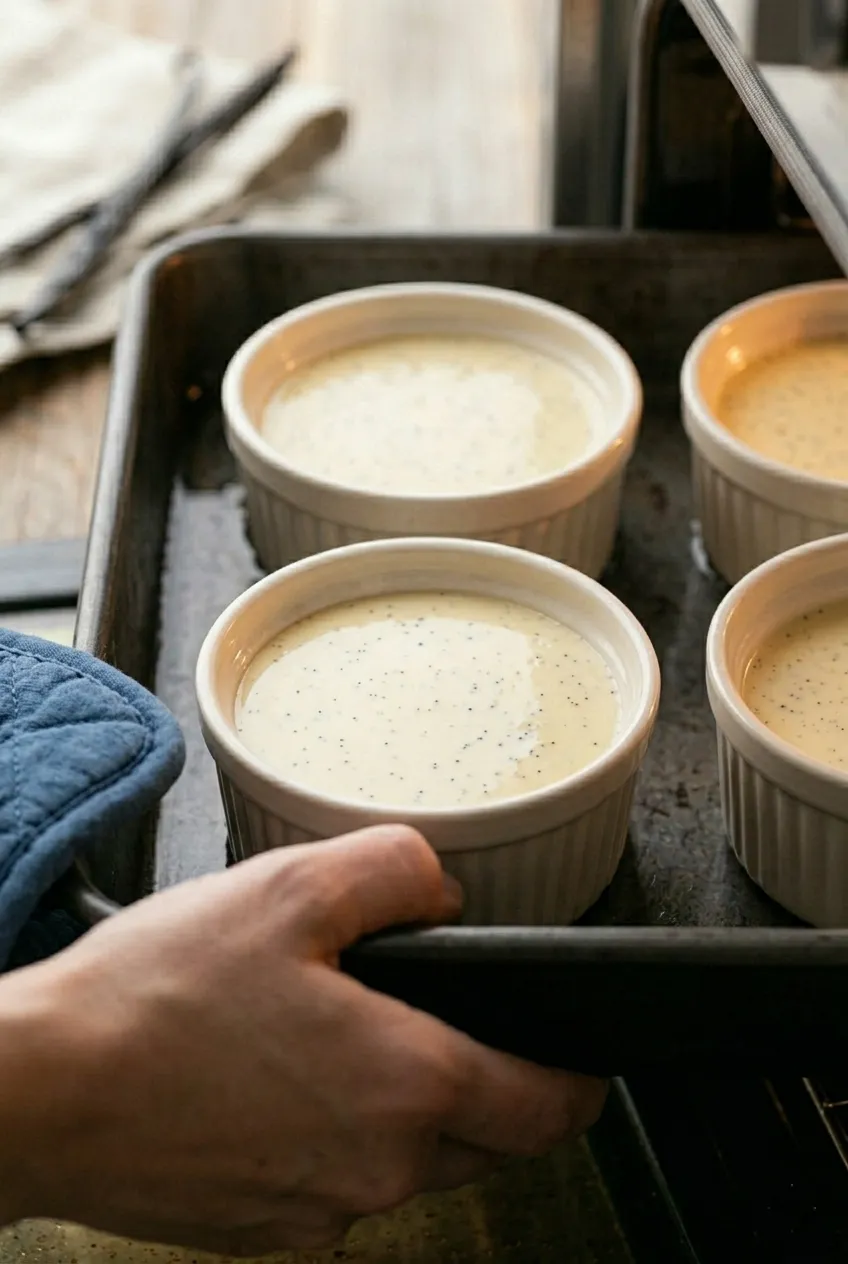
Place the baking dish into your oven.
Bake at 325°F for 30 to 40 minutes.
You’re looking for the edges to be set, but the center should still have a slight wobble when you gently shake it.
That wobble is exactly what you want.
Step 8: Chill the Crème Brûlée
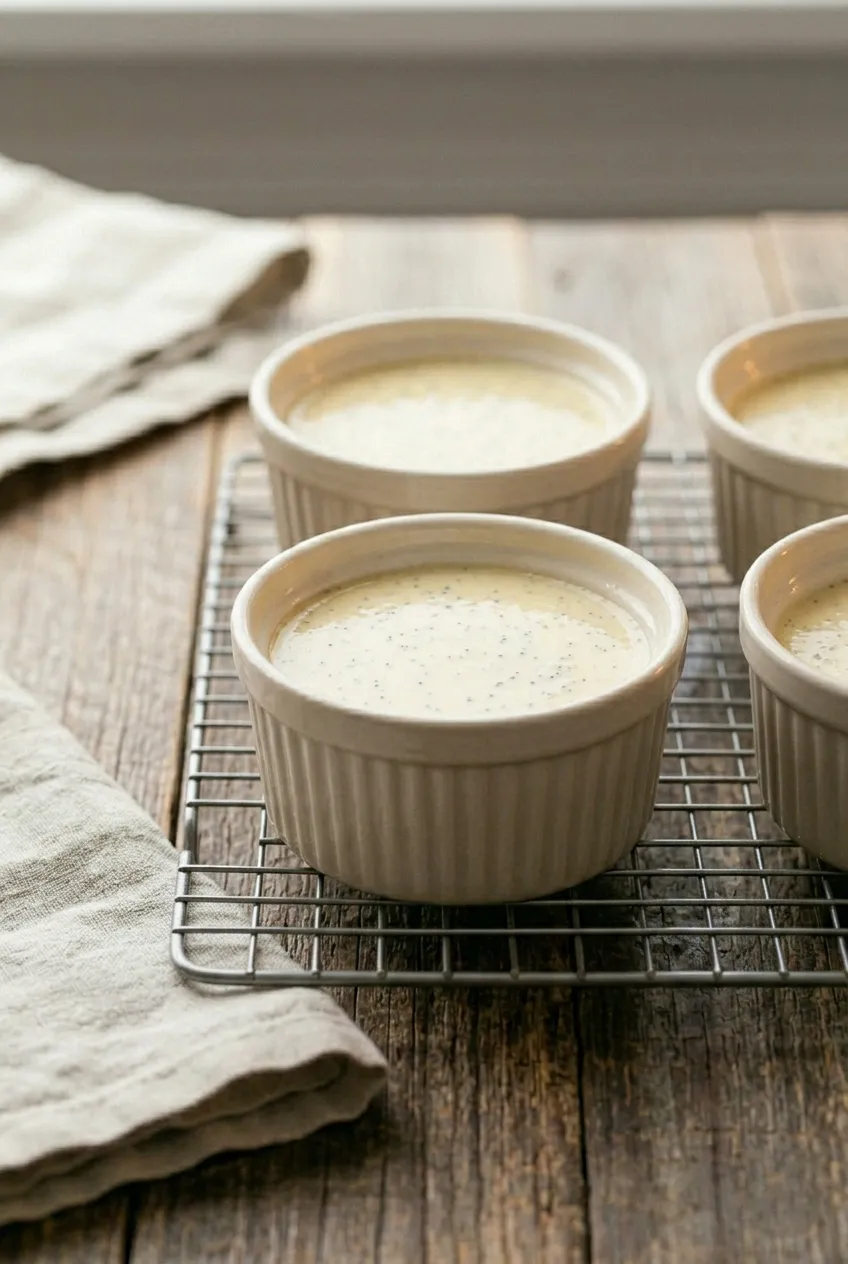
Remove the ramekins from the water bath and let them cool.
Then place them in the refrigerator until fully chilled.
Once chilled, that slight wobble will firm up into a smooth, creamy custard.
For a make-ahead sweet option, this overnight oats recipe can double as a light dessert or breakfast treat.
Step 9: Caramelize the Sugar (The Fun Part)
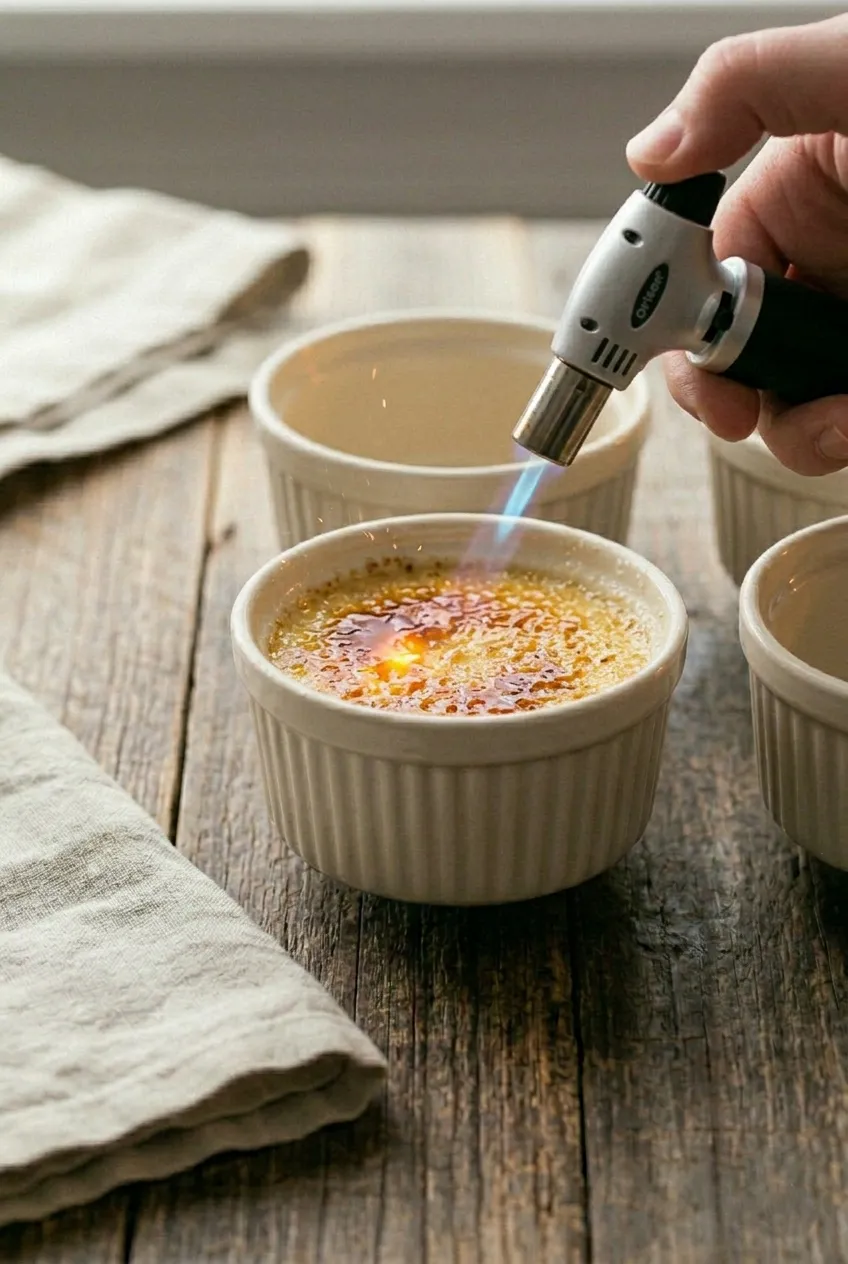
Now comes the most exciting part.
Sprinkle about 1 to 1 1/2 teaspoons of sugar over the top of each custard.
Spread it evenly. Make sure it’s a thin layer, even around the edges.
Too much sugar in one spot will burn instead of caramelizing.
Now take your kitchen torch.
Move it in sweeping motions across the surface. Don’t stay in one place too long.
You’re looking for a light golden amber color.
If it gets too dark, it will taste bitter.
Take your time. Move the flame around and let the sugar caramelize gradually.
Step 10: Serve Immediately
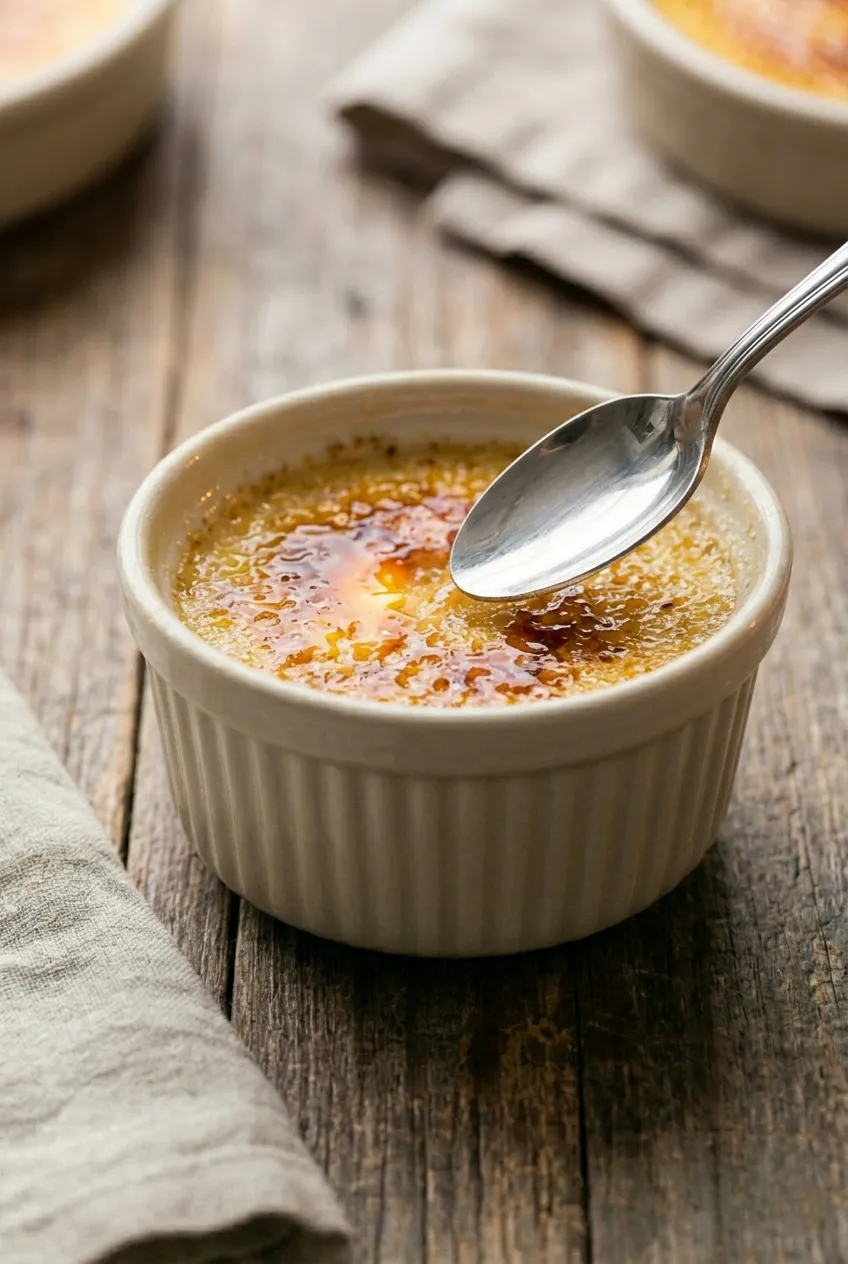
Once the sugar is caramelized, serve right away or within 30 minutes.
If you leave it too long, the sugar will start to melt and you’ll lose that crisp top.
Now take a spoon and tap the surface.
That crack? That’s exactly what you want.
Break through it and scoop into that creamy custard underneath.
Tips for Perfect Crème Brûlée
- Don’t boil the cream
- Let the cream cool before mixing with eggs
- Always use a water bath for even baking
- Keep the sugar layer thin for the perfect crack
- Use a torch for best results
After a rich dessert, sip on this virgin margarita recipe for a refreshing citrus balance.
Serving Suggestions
Serve crème brûlée as:
- A classic dinner dessert
- A special occasion treat
- A make-ahead dessert for guests
You can also pair it with:
- Fresh berries
- Light cookies
- Coffee or tea
FAQs
If you’re planning a full meal, start with this Louisiana chicken noodle soup before ending on a sweet note.
Conclusion
This classic crème brûlée recipe is simple, elegant, and incredibly satisfying.
From the rich vanilla custard to that perfectly caramelized top, every bite delivers a balance of texture and flavor that feels special.
Once you master this technique, you’ll realize it’s not complicated at all. Just a few ingredients, a bit of patience, and the result is a dessert that looks and tastes like it came straight from a restaurant.
Make it once, and you’ll keep coming back to it.